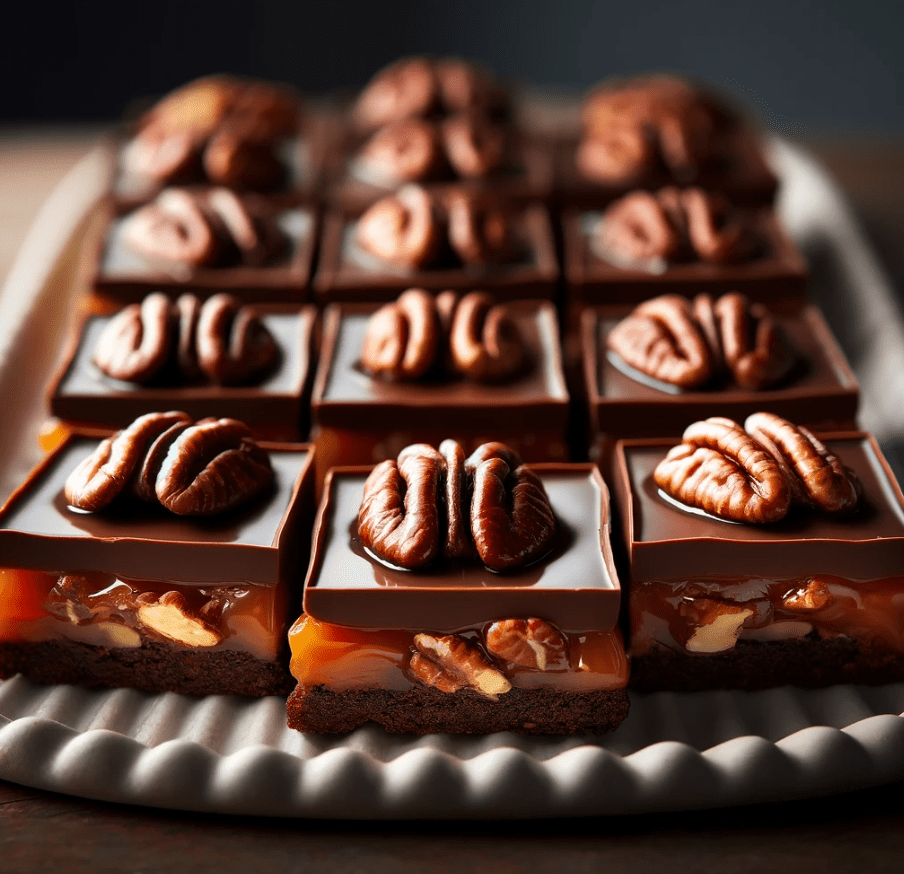
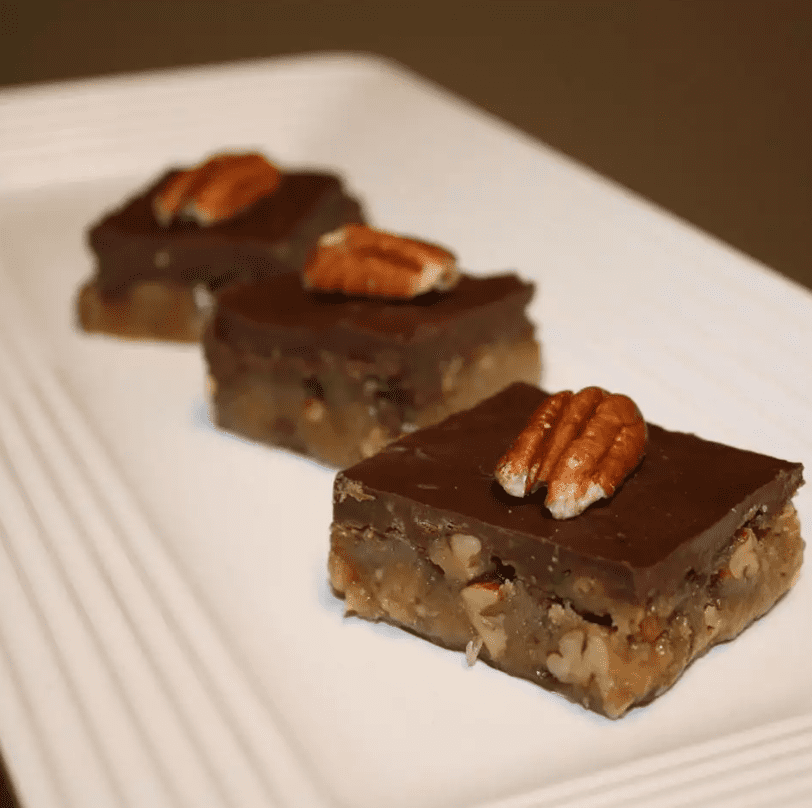
Ah, Turtle Bars! A name that evokes a cascade of sweet, crunchy, and nutty flavors all melded into one irresistible treat. For those of you who have yet to encounter this delightful confection, prepare to be enchanted. Turtle Bars combine the rich, gooey goodness of caramel, the satisfying crunch of pecans, and that velvety layer of chocolate to create a dessert that’s hard to beat. Not just a treat for the palate, these bars carry with them a slice of history and an ocean of variations that cater to every taste. Whether you’re a seasoned baker or a curious newcomer, this article will guide you through the wonderful world of Turtle Bars, from their intriguing origins to the many ways you can tweak the recipe to make it uniquely yours.

Introduction to Turtle Bars
The Sweet History and Origin of Turtle Bars
Once upon a time, in the realm of confectionery delights, a dessert was born that was destined to capture the hearts of many. The name Turtle Bars might sound a tad peculiar at first. However, the moniker comes from an adorable resemblance to a turtle’s shape, thanks to the pecans poking out beneath a chocolate and caramel shell. This delightful treat first made its appearance in the 1930s, borrowing its name from the turtle candies that share its core ingredients: pecans, caramel, and chocolate. Over the years, these bars have morphed from a holiday specialty to a year-round favorite, proving that good things indeed come in small (and delicious) packages.
Why They Are Called “Turtle” Bars
Ever wondered why a dessert bar would be named after a slow-moving reptile? The answer is as sweet as the treat itself! It’s all about the presentation. When the pecans are arranged just so, they peek out from under the luscious caramel and chocolate layers, bearing a charming resemblance to a turtle. This naming also speaks volumes about the playful nature of dessert making, where not only flavors but also forms are a source of joy. So, while the name Turtle Bars might be a nod to its appearance, it’s the taste that keeps everyone coming back for more.
In essence, Turtle Bars are not just a treat; they’re a delightful journey through taste and time. As we dive deeper into their rich flavors and explore the myriad ways to enjoy them, remember that each bite is a homage to the simple joy of baking and the enduring love for sweets that many of us share. So, grab your apron, and let’s embark on this scrumptious adventure together!
Recipes and Variations
Classic Turtle Bars Recipe
Diving into the world of Turtle Bars, the classic recipe is akin to finding the golden ticket—it’s the gateway to a universe where flavor knows no bounds. This recipe lays down the foundation with a buttery shortbread crust, a rich layer of homemade caramel, and a generous sprinkle of chocolate and pecans on top. The result? A bar so delectably balanced, it’s like a symphony in your mouth.
For those embarking on this culinary adventure, remember, the secret lies in the quality of ingredients. Opting for high-quality chocolate can elevate your Turtle Bars to new heights. Ghirardelli is a fantastic choice for baking, blending rich flavors and smooth textures that complement the crunchy pecans and gooey caramel perfectly.
Variations on the Classic Recipe
Using Different Types of Chocolate
Ah, chocolate—the heart of the Turtle Bar. While semi-sweet chips are the traditional choice, why not dance on the wild side? Milk chocolate brings a sweeter note, dark chocolate adds depth, and white chocolate offers a creamy twist. Each choice weaves its own magic into the bars, creating a tapestry of tastes.
Nut Variations: Almonds, Walnuts, and Peanuts
While pecans are the stars of the show, there’s room on the stage for almonds, walnuts, or even peanuts. Each nut brings its own flavor and texture, making your Turtle Bars a reflection of your personal taste. It’s like jazz—improvise and find the rhythm that suits you best.
Graham Cracker Crust Option
For a twist on the traditional shortbread crust, a graham cracker base can add an extra layer of flavor and texture. This variation, with its hint of honey, pairs beautifully with the caramel and chocolate, offering a delightful crunch that resonates with every bite.
Salted Caramel Enhancement
In the world of sweets, salted caramel is the beacon of sophistication. A sprinkle of sea salt over the caramel layer before adding the pecans can transform your Turtle Bars from simply delicious to utterly sublime. It’s a dance of flavors where sweet meets savory, and the result is nothing short of spectacular.
Exploring the variations of Turtle Bars is a testament to the versatility and enduring appeal of this classic treat. Whether you stick to the time-honored recipe or venture into the realm of variations, the joy of baking—and sharing—these delightful bars is a journey of discovery in every bite.
Making Turtle Bars
Step-by-Step Baking Guide
Embarking on the journey to create your very own Turtle Bars is both an art and an adventure. Here’s how you can craft these decadent treats right in your kitchen:
-
Preparing the Shortbread Crust: Start by whisking together flour and sugar before cutting in butter until the mixture resembles coarse crumbs. This base should be pressed firmly into your baking dish, forming the foundation of your bars.
-
Creating the Perfect Caramel Layer: In a saucepan, melt butter with brown sugar, stirring until the mixture is smooth and bubbling. This golden elixir is then poured over the prepared crust, paving the way for a layer of gooey goodness.
-
Tips for Melting and Spreading Chocolate: After baking, sprinkle chocolate chips evenly over the hot caramel. The residual heat gently melts the chocolate, allowing you to spread it into a smooth layer with an offset spatula. The trick is to let the warmth do its work, ensuring a glossy finish.
-
Cooling and Cutting into Bars: Patience is key. Allow your Turtle Bars to cool completely in the pan before slicing. For clean cuts, a sharp knife dipped in hot water does wonders, slicing through the layers with ease.
Common Mistakes to Avoid
While making Turtle Bars might seem straightforward, there are a couple of pitfalls to be wary of:
-
Overbaking the Shortbread Base: Keeping an eye on your oven is crucial. The crust should be golden, not browned, to maintain its tender texture.
-
Caramel Consistency Issues: Achieving the right consistency for the caramel layer can be tricky. Stirring constantly and watching for that perfect golden color ensures a silky-smooth layer that sets just right.
Creating Turtle Bars is more than just following a recipe; it’s about weaving together flavors and textures to create a dessert that delights. With each step, you’re not just baking; you’re crafting moments of joy, one layer at a time. So, don your apron and let the magic begin!
Serving and Storage
Serving Suggestions
Once you’ve mastered the craft of baking Turtle Bars, presenting them becomes the next delightful challenge. These bars, rich in flavor and texture, make a statement on their own, but with a few simple touches, you can elevate the experience even further.
A dusting of powdered sugar can add a whisper of sweetness and a touch of elegance, making each bar look like a miniature work of art. For a truly indulgent experience, consider serving them slightly warmed, with a dollop of fresh whipped cream or a scoop of vanilla ice cream on the side. The contrast of temperatures and textures turns each bite into a symphony of flavors.
Storing Turtle Bars
Room Temperature Storage
-
Turtle Bars, with their decadent layers, are surprisingly resilient. Stored in an airtight container, they can sit pretty on your counter for up to three days, ready to be enjoyed at a moment’s notice.
Refrigeration Tips
-
For a slightly firmer texture, or to extend their shelf life, the refrigerator is your friend. Again, an airtight container is key to preventing the bars from absorbing any odors. They’ll keep well for up to a week, ensuring that you have a sweet treat within easy reach.
Freezing for Long-term Storage
-
If you’re looking to save some Turtle Bars for a rainy day, freezing is a fantastic option. Wrapped individually in plastic wrap and then stored in a zip-top bag, they can last for up to three months. When the craving strikes, simply thaw them at room temperature or give them a brief warm-up in the microwave.

