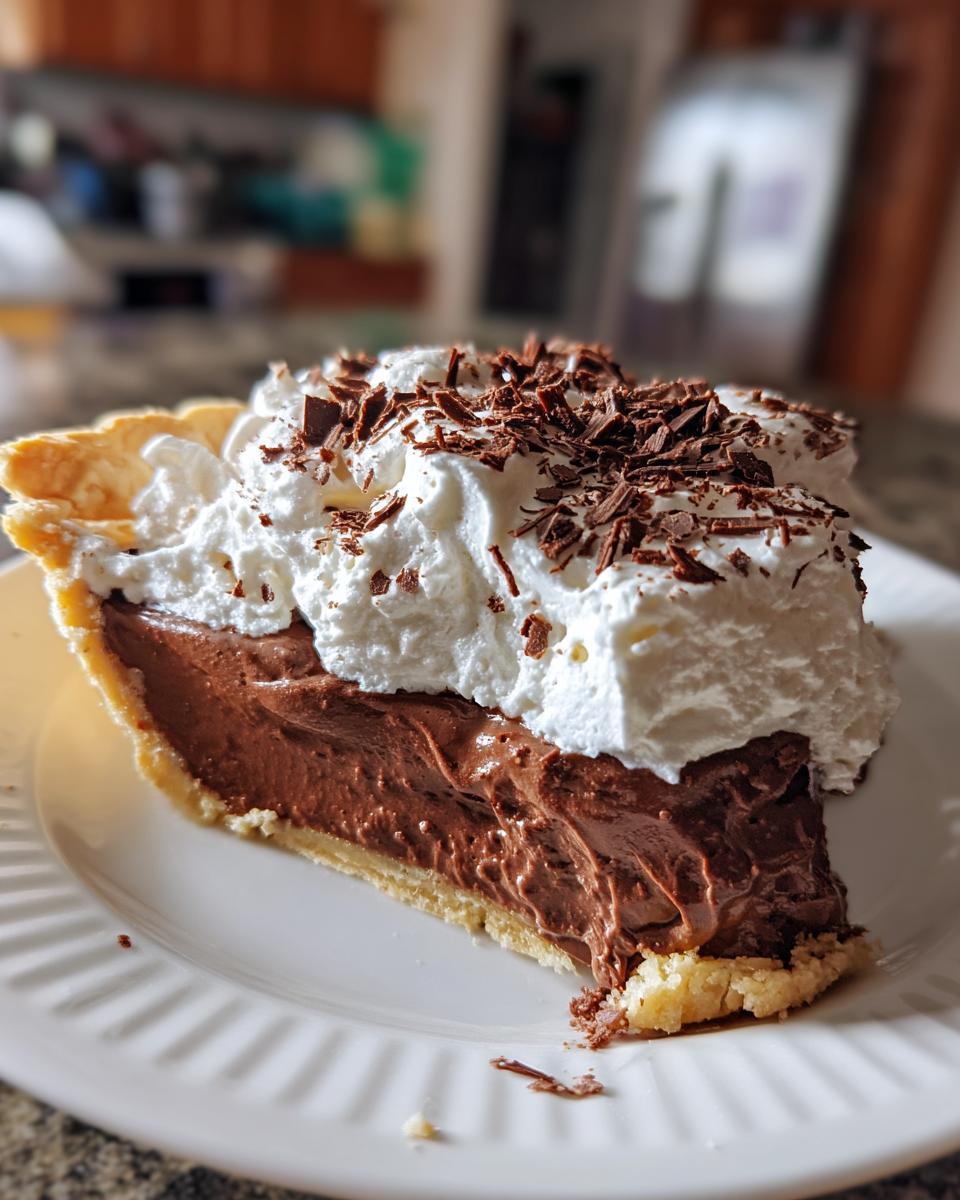
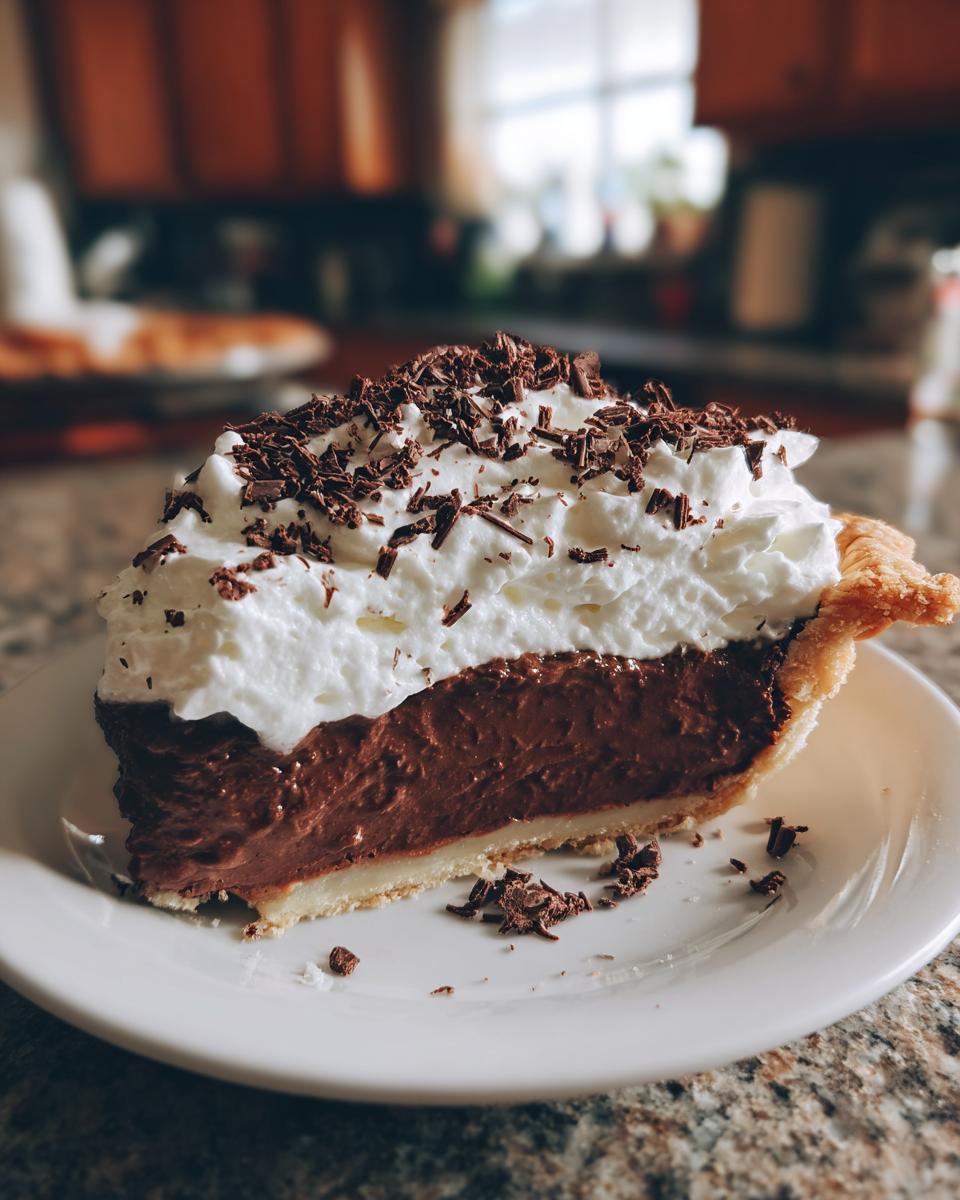
Okay, so if you’re looking for that *perfect* showstopper for your Christmas table, I’ve got you covered! This Nesquik Chocolate Pie is seriously a dream. It’s so rich and creamy, and honestly, it just screams holidays. I’ve made this for so many Christmas parties, and people always rave about it. It’s one of those recipes that’s just foolproof, using good old Nesquik powder to get that amazing chocolate flavor everyone loves. Trust me, it’s a winner!

Why You’ll Love This Nesquik Chocolate Pie for Christmas
Seriously, what’s not to love about this pie? It’s a total holiday lifesaver!
- So Easy to Make: You won’t spend hours in the kitchen.
- Seriously Chocolatey: That classic Nesquik flavor is just unbeatable.
- Looks Gorgeous: It’s perfect for dressing up your holiday dessert table.
- Everyone Devours It: Guaranteed to be a hit with family and friends.
- Holiday Ready: It’s pretty much designed for Christmas gatherings!
Gather Your Ingredients for Nesquik Chocolate Pie for Christmas
Alright, let’s get down to the good stuff – what you need to make this magic happen! The beauty of this pie is that it uses pretty simple ingredients, with Nesquik chocolate powder being the star, of course. You’ll want to grab a good quality pre-baked 9-inch pie crust. My grandma always swore by making her own, but honestly, the store-bought ones are a lifesaver during the holidays, and they work perfectly here.
Essential Ingredients for Your Nesquik Chocolate Pie for Christmas
So, for the filling itself, you’ll need about a cup of that glorious Nesquik chocolate powder – don’t skimp here, it’s what gives it that authentic taste. We’ll also use granulated sugar and some cornstarch to get that lovely, thick texture, plus a pinch of salt to balance the sweetness. You’ll need three cups of good old milk, and four large egg yolks to make it super creamy and rich. And of course, a couple of tablespoons of unsalted butter and a teaspoon of vanilla extract to really round out that chocolatey goodness.
Garnish and Serving Needs
Once your pie is all chilled and ready to go, you’ll want some fluffy whipped cream to top it off – homemade is great, but the canned stuff works in a pinch! And for that extra festive sparkle, a sprinkle of chocolate shavings is just the prettiest touch. It really makes it look like you went to a ton of effort, even though it’s surprisingly simple!
How to Prepare Your Nesquik Chocolate Pie for Christmas
Alright, let’s get this pie made! It’s really not complicated, I promise. Just follow along and you’ll have a fantastic chocolate pie in no time.
Creating the Rich Chocolate Filling
First things first, grab a medium-sized saucepan. We’re going to whisk together the Nesquik chocolate powder, the sugar, cornstarch, and that pinch of salt. Get it all mixed up really well so there are no clumps. Then, slowly whisk in your milk until it’s nice and smooth. In a separate little bowl, whisk up those egg yolks. Now, this is important: we need to temper the egg yolks. Just take about a cup of that warm milk mixture and slowly whisk it into the egg yolks. This stops them from scrambling when they hit the hot pan. Pour that tempered egg yolk mixture back into the saucepan with the rest of the milk. Now, put it over medium heat. You absolutely *have* to stir constantly. Keep stirring and stirring until it thickens up – it usually takes about 5 to 7 minutes. You’re looking for it to coat the back of a spoon, but whatever you do, don’t let it boil! Once it’s thickened, take it off the heat. Stir in the butter and vanilla extract until the butter is all melted and everything is beautifully combined. It smells amazing at this point!
Assembling and Chilling Your Nesquik Chocolate Pie for Christmas
Now for the easy part! Pour that gorgeous, thick chocolate filling right into your pre-baked pie crust. Make sure it’s spread out evenly. Here’s a little trick Grandma taught me: to stop a weird skin from forming on top, grab some plastic wrap and press it gently right onto the surface of the filling. It seals it all in! Then, carefully pop the whole pie into the refrigerator. You’ll want to let it chill for at least 4 hours. Honestly, overnight is even better if you can wait! It needs to get nice and firm so you can slice it properly.
Finishing Touches for a Festive Presentation
When it’s time to serve this beauty, take off that plastic wrap. You can add a nice big dollop of whipped cream right on top – make it as fluffy as you like! Then, just for that extra festive flair, sprinkle some chocolate shavings all over the whipped cream. It looks so professional and really makes it feel special for Christmas. It’s the perfect finishing touch!
Tips for a Perfect Nesquik Chocolate Pie for Christmas
You know, sometimes a little tweak here or there can make all the difference. This pie is already pretty amazing, but if you really want to nail it, here are a few things I’ve learned over the years. It’s mostly about getting that texture just right and making sure the flavor is exactly how you like it.
Achieving the Perfect Consistency
If you prefer a really firm pie, like one that slices super cleanly every single time, try adding just one extra tablespoon of cornstarch to the dry ingredients. It makes it a bit thicker. And honestly, the biggest thing for that super smooth, lump-free filling is just constant stirring. Seriously, don’t walk away from the stove! Keep that whisk moving, especially around the edges and bottom of the pan. It makes all the difference between a silky smooth filling and one with little eggy bits.
Customizing the Sweetness of Your Nesquik Chocolate Pie for Christmas
Nesquik is already sweet, but everyone has their own idea of perfect sweetness, right? So, feel free to play around with the sugar. If you like things a bit less sweet, you can definitely cut back on the granulated sugar. Or, if you’re like me and love a really decadent, sweet treat, you could even add a tablespoon or two more. Just give it a little taste (carefully, it’s hot!) before you pour it into the crust, and adjust it until it’s just right for your taste buds.
Serving Suggestions for Your Nesquik Chocolate Pie for Christmas
This rich chocolate pie is pretty decadent on its own, but you know, sometimes you want a little something extra to make the whole dessert experience even more special. I love serving a slice of this with a nice, strong cup of coffee – the bitterness really cuts through the sweetness. Another idea is a small scoop of vanilla bean ice cream on the side; the cool creaminess is just heavenly with the chocolate. Or, for something lighter, maybe a few fresh raspberries sprinkled around the plate? They add a pop of color and a little tartness that’s just lovely! You might also enjoy our triple chocolate cheesecake for another decadent dessert option.
Storing and Reheating Your Nesquik Chocolate Pie for Christmas
Got leftovers? Lucky you! Just cover that pie tightly with plastic wrap or pop it into an airtight container. It’ll stay yummy in the fridge for about 3 to 4 days. Honestly though, it’s best served chilled, so there’s usually no need to reheat it. If you absolutely want it a little warmer, you could try gently warming a slice in the microwave for just a few seconds, but I find it’s perfect straight from the fridge!
Frequently Asked Questions about Nesquik Chocolate Pie for Christmas
Got some burning questions about making this delicious pie? I’ve got you!
Can I use a different type of chocolate powder for this Nesquik Chocolate Pie for Christmas?
You know, while Nesquik is what gives this pie its special magic, you *could* try another chocolate powder. But fair warning, the flavor and sweetness might be different. Nesquik has that unique taste that just works perfectly here, so I really recommend sticking with it for that classic Christmas flavor you’re expecting!
How long does the Nesquik Chocolate Pie for Christmas need to chill?
This is super important for getting that perfect slice! You need to chill it for at least 4 hours, but I honestly find it’s even better if you can let it chill overnight. That extra time really lets it firm up properly so you get those clean slices. Patience is key here!
Can I make the chocolate filling ahead of time for my Nesquik Chocolate Pie for Christmas?
Yes, you absolutely can! This is a great make-ahead tip. You can make the chocolate filling one day and store it in an airtight container in the fridge. Then, when you’re ready, just gently warm it up a tiny bit to make it pourable again, and spoon it into your pre-baked crust. Easy peasy!
Share Your Nesquik Chocolate Pie for Christmas Experience
I’d absolutely love to hear how your Nesquik Chocolate Pie for Christmas turned out! Did you try any fun twists or modifications? Please share your thoughts, tips, or even just how much everyone loved it in the comments below. Your feedback and stories really make my day! For more holiday baking inspiration, check out our Christmas Sugar Cookie Dip.


Dreamy Nesquik Chocolate Pie: 5 Stars
- Total Time: 4 hours 25 minutes
- Yield: 8 servings 1x
- Diet: Vegetarian
Description
A rich and creamy chocolate pie with a festive twist, perfect for Christmas celebrations.
Ingredients
- 1 (9 inch) pre-baked pie crust
- 1 cup Nesquik Chocolate Powder
- 1/2 cup granulated sugar
- 1/4 cup cornstarch
- 1/4 teaspoon salt
- 3 cups milk
- 4 large egg yolks
- 2 tablespoons unsalted butter
- 1 teaspoon vanilla extract
- Whipped cream for topping
- Chocolate shavings for garnish
Instructions
- In a medium saucepan, whisk together Nesquik chocolate powder, sugar, cornstarch, and salt.
- Gradually whisk in milk until smooth.
- In a separate bowl, whisk the egg yolks.
- Slowly temper the egg yolks by whisking about 1 cup of the warm milk mixture into them.
- Pour the tempered egg yolk mixture back into the saucepan with the remaining milk mixture.
- Cook over medium heat, stirring constantly, until the mixture thickens, about 5-7 minutes. Do not boil.
- Remove from heat. Stir in butter and vanilla extract until butter is melted and combined.
- Pour the chocolate filling into the pre-baked pie crust.
- Cover the surface of the pie with plastic wrap, pressing it directly onto the filling to prevent a skin from forming.
- Chill in the refrigerator for at least 4 hours, or until firm.
- Before serving, top with whipped cream and chocolate shavings.
Notes
- For a firmer pie, you can add an extra tablespoon of cornstarch.
- Ensure you stir constantly while cooking the filling to prevent lumps.
- Adjust sweetness to your preference by adding more or less sugar.
- Prep Time: 15 minutes
- Cook Time: 10 minutes
- Category: Dessert
- Method: Stovetop
- Cuisine: American
Nutrition
- Serving Size: 1 slice
- Calories: 350
- Sugar: 30g
- Sodium: 150mg
- Fat: 18g
- Saturated Fat: 10g
- Unsaturated Fat: 8g
- Trans Fat: 0.5g
- Carbohydrates: 45g
- Fiber: 3g
- Protein: 7g
- Cholesterol: 80mg
Keywords: Nesquik, Chocolate Pie, Christmas, Dessert, Holiday, Chocolate, Creamy