Let me tell you a secret—nothing beats the smell of fresh donuts frying in your own kitchen. That first bite of warm, fluffy perfection? Oh my gosh, it beats any donut shop experience hands down. I know because I’ve spent years tweaking this recipe—burning batches (oops!), underfrying (disaster!), and finally nailing that magical balance of crisp outside and cloud-like inside.
These homemade donuts are so good, you may never buy them again. Trust me, once you taste how incredible fresh-from-the-oil donuts are with just a dusting of cinnamon sugar (my personal weakness), those grocery store versions will taste stale in comparison. My kids now beg for Saturday morning donut-making sessions—flour everywhere, sticky fingers, and all those glorious smells filling the house.
The best part? This recipe is shockingly simple. No fancy equipment needed, just basic ingredients you probably have right now. So roll up your sleeves, because I’m about to show you how to make donuts that’ll ruin store-bought for you forever!

Why You’ll Love These Homemade Donuts
Let me count the ways these donuts will steal your heart (and probably ruin store-bought for you forever):
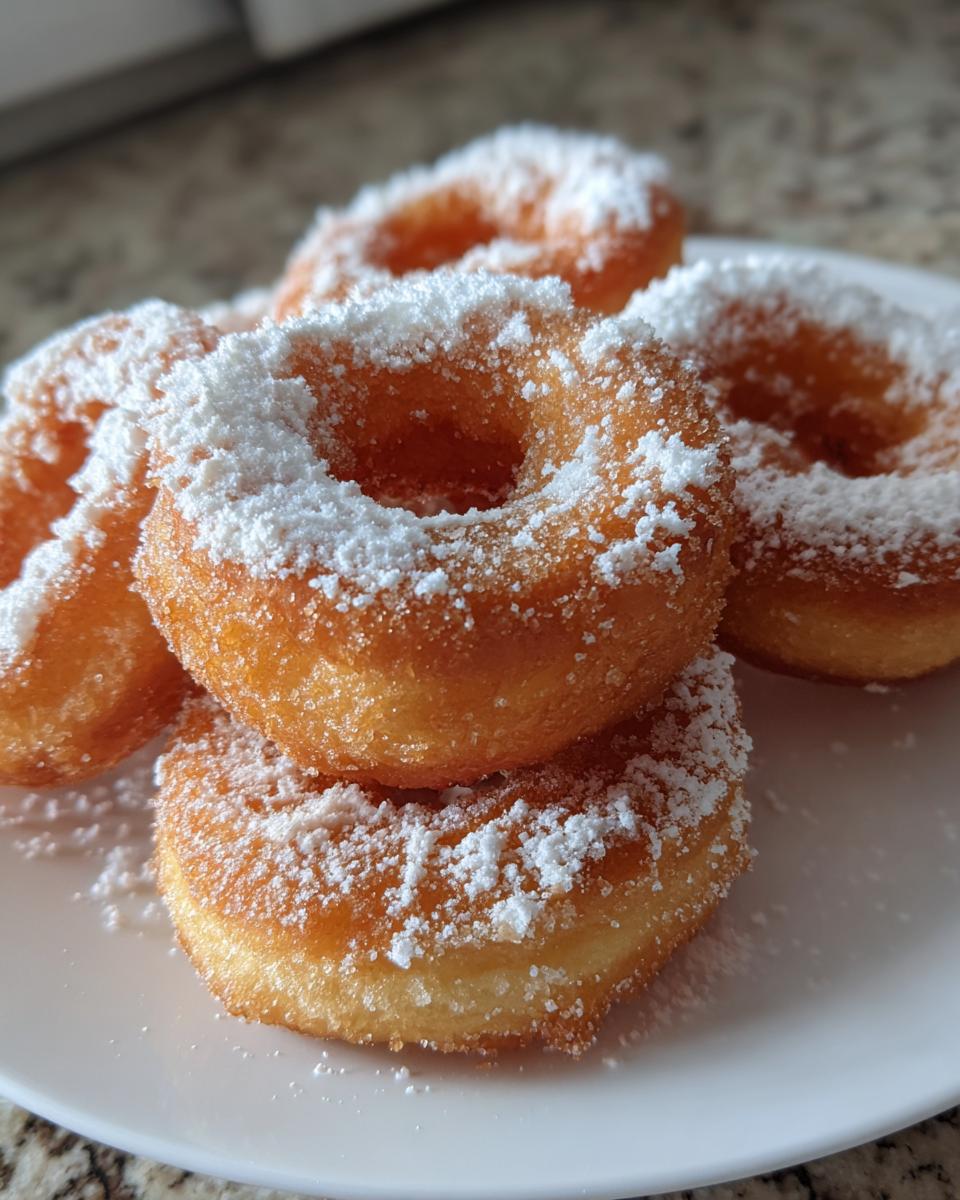
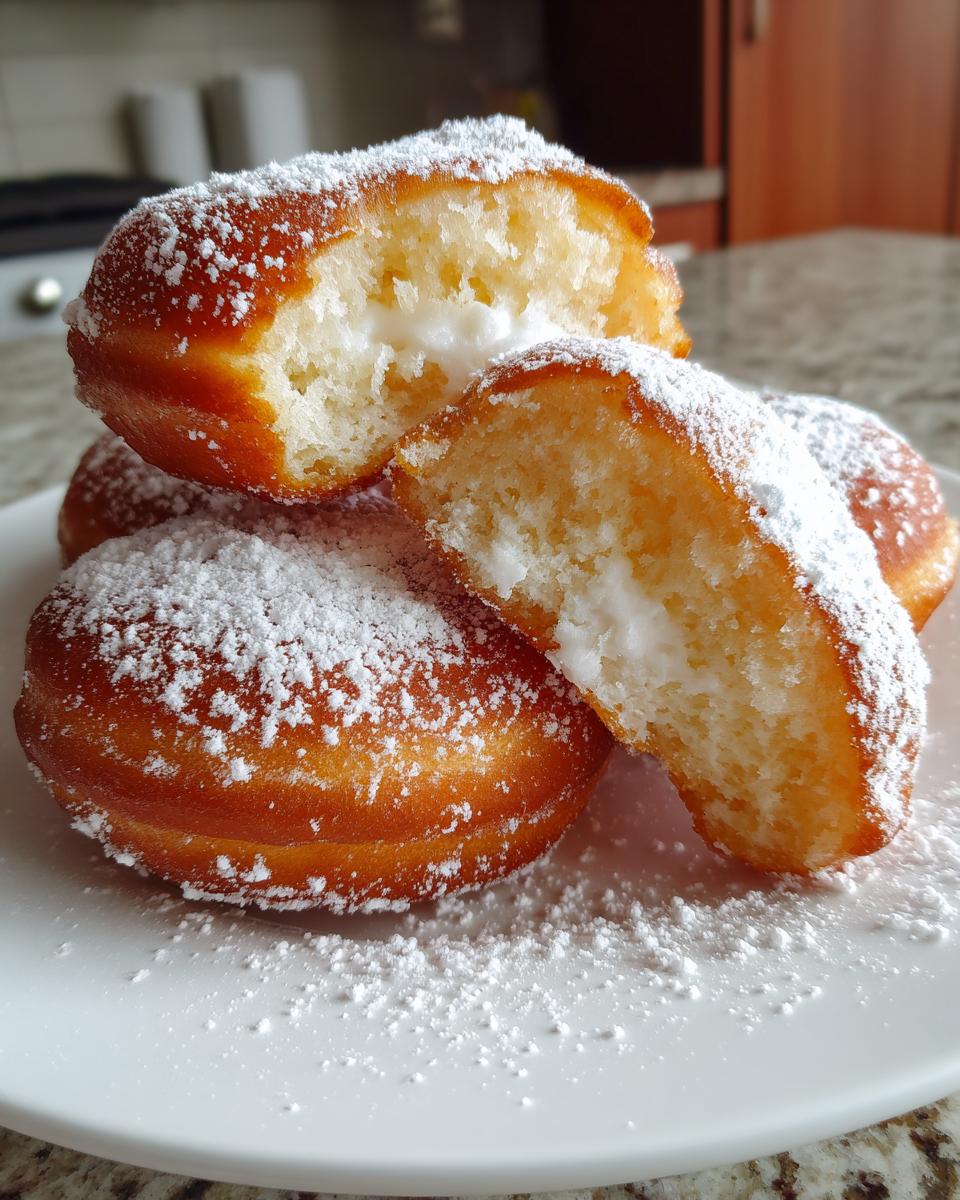
- Freshness you can taste: That first bite of a still-warm donut straight from your kitchen? No comparison to day-old bakery cases. The crisp exterior gives way to the softest, cloud-like interior—pure magic.
- Customization heaven: Go wild with toppings! My kids love rainbow sprinkles, while I’m partial to a simple vanilla glaze. Unlike shops with limited options, your kitchen becomes a donut playground.
- Surprisingly quick: From bowl to plate in under 30 minutes—seriously! No waiting in drive-thru lines when cravings hit.
- No mystery ingredients: Just real, simple pantry staples. No unpronounceable preservatives here!
- That unbeatable aroma: Your whole house will smell like a bakery. Warning: neighbors might “drop by” unexpectedly.
Honestly, once you try them, you’ll wonder why you ever settled for anything else.
Ingredients for Donuts So Good You May Never Buy Them Again
Okay, let’s talk ingredients—the foundation of those perfect homemade donuts! I’ve learned through many messy (but delicious) trials that quality matters here. Don’t let the simple list fool you—each item plays a special role in creating that melt-in-your-mouth texture we’re after.
- 2 cups (260g) all-purpose flour – Spoon it into your measuring cup and level it off, please! Packed flour leads to hockey pucks, not donuts.
- 1/2 cup (100g) granulated sugar – This is the sweet spot (pun intended) for balanced sweetness—enough to satisfy but not overwhelm.
- 1 teaspoon baking powder – Our little leavening hero! Make sure yours isn’t expired—give it a sniff. No fizz when mixed with water? Toss it.
- 1/2 teaspoon salt – Crucial for enhancing all flavors. I like fine sea salt for even distribution.
- 1/2 cup whole milk – Room temp is ideal here. Cold milk can make your dough stubborn. Microwave it for 15 seconds if you forgot to plan ahead (I always do).
- 2 large eggs – Also room temp! They incorporate better into the dough. Pro tip: soak cold eggs in warm water for 5 minutes in a pinch.
- 2 tablespoons melted butter – Unsalted is my preference so I control the salt, but salted works in a pinch. Let it cool slightly before adding.
- 1 teaspoon vanilla extract – The good stuff! Pure vanilla makes all the difference here.
- Oil for frying – Neutral oils like vegetable or canola work great. You’ll need enough for about 2 inches depth in your pan.
See? Nothing fancy—just good old-fashioned ingredients ready to transform into something magical. Now let’s get mixing!
Equipment You’ll Need
Don’t stress—you don’t need a fancy donut shop setup! Here’s what I grab every time:
- A deep, heavy-bottomed pan – Cast iron works beautifully, but any sturdy 3-quart pot will do. Safety first!
- Candy/fry thermometer – Non-negotiable. Oil temperature makes or breaks your donuts. Mine clips right to the pan.
- Donut cutter – Or improvise with a round cookie cutter and shot glass for the center hole. Get creative!
- Slotted spoon or spider strainer – For safely flipping and removing those golden beauties.
- Paper towel-lined tray – My secret for draining excess oil without soggy bottoms.
That’s it—simple tools for seriously impressive results. Now let’s make some magic!
How to Make Donuts So Good You May Never Buy Them Again
Alright, this is where the magic happens! I’m walking you through each step exactly how I do it in my own kitchen—with plenty of “oops-I-learned-this-the-hard-way” tips sprinkled in. Follow along, and soon you’ll have donuts so perfect, you’ll be giving side-eye to every bakery case you pass.
Step 1: Mixing the Dough
First, grab that bowl of dry ingredients you prepped earlier—flour, sugar, baking powder, and salt. Make a little well in the center (fancy chef term for a hole). Here’s where things get messy in the best way!
Pour in your milk, eggs, slightly cooled melted butter, and that glorious vanilla. Now mix gently—I start with a wooden spoon—just until everything comes together. The dough will look shaggy at first, then suddenly transform into this beautiful, smooth ball. That’s your cue to stop mixing!
Watch out: Overmixing is the enemy of fluffy donuts. Once you see no dry spots, hands off! A few lumps are fine—they’ll work themselves out when we roll the dough. Cover the bowl with a towel and let it rest for 10 minutes. This relaxes the gluten and makes rolling way easier.
Step 2: Rolling and Cutting
Flour your counter generously—trust me, sticky dough frustration is real! Plop that rested dough right in the middle and roll it out to about 1/2-inch thickness. Why 1/2 inch? Thinner means crispier donuts (not bad, just different), thicker risks undercooked centers.
Now for the fun part—cutting! My donut cutter gets a workout, but here are my favorite hacks if you don’t have one:
- Use a wide-mouth glass or biscuit cutter (about 3-inch diameter) for the outer circle
- A shot glass or small bottle cap works perfectly for the center hole
- No cutters at all? Roll dough into ropes and connect the ends—boom, donut rings! (My kids love this method)
Gather and reroll scraps once—more than that and your donuts get tough. Bonus? Those odd-shaped pieces make amazing donut holes!
Step 3: Frying to Perfection
This is where many folks panic—deep frying sounds scary, but with these tips, you’ll be a pro. Heat your oil to exactly 350°F (177°C)—use that thermometer! Too cold means greasy donuts; too hot burns the outside before the inside cooks.
Gently slide in 2-3 donuts at a time—don’t crowd the pan! They’ll float almost immediately. Set your timer for 1 minute, then peek underneath. Golden brown? Flip! Another minute on side two.
Perfect donut signs:
- Beautiful golden-brown color (like a perfect tan)
- They puff up slightly and float proudly
- Edges look crisp but not dark
Transfer them to your paper towel-lined tray using that slotted spoon. Resist eating immediately—hot oil burns tongues (voice of experience here). Just 2 minutes of cooling transforms them into edible clouds of joy.
See? That wasn’t so hard! Now comes the best part—decorating and devouring your homemade masterpieces.
Tips for Donuts So Good You May Never Buy Them Again
Alright, let me share my hard-earned donut wisdom—the little tricks that took my homemade donuts from “good” to “why would I ever buy these anywhere else?” status:
- Dough naps matter: That 10-minute rest after mixing? Non-negotiable. It relaxes the gluten so your donuts stay tender instead of tough. I set a timer because I always forget!
- Oil temp is everything: Keep that thermometer clipped to your pan. I adjust my burner constantly—turn it down if it hits 360°F, up if it drops to 340°F. Perfect temp means no greasy or burnt surprises.
- The blotting dance: Drain donuts on paper towels, then transfer to a wire rack after 30 seconds. This stops the dreaded soggy bottom while keeping tops crisp.
- Fry in batches: I know, waiting is hard! But overcrowding drops the oil temp fast. Three donuts at a time is my sweet spot for even cooking.
- Save the scraps: Those odd dough bits make amazing donut holes! Fry them last—they cook faster and become the chef’s treat (or in my house, the kid magnets).
Follow these, and I promise—your donuts will be the stuff of legends!
Customizing Your Donuts
Now comes the best part—making these donuts truly yours! The blank canvas of a warm, freshly fried donut just begs for personal touches. Here are my family’s favorite ways to dress them up:
- Cinnamon sugar shake: Toss warm donuts in a mix of 1/2 cup sugar + 1 tbsp cinnamon—my weekday go-to. Pro tip: do this while they’re still slightly warm so the sugar sticks like magic.
- Vanilla glaze: Whisk 1 cup powdered sugar with 2 tbsp milk and 1 tsp vanilla until smooth. Dip the tops and let it set—sheer perfection when it cracks with each bite.
- Chocolate dip: Melt 1/2 cup chocolate chips with 1 tbsp coconut oil. Dunk one side and top with crushed nuts or sprinkles before it sets.
- Maple bacon: For adventurous souls—brush with real maple syrup and crumble crispy bacon on top. Sweet, salty heaven!
The possibilities? Endless. Just remember—toppings stick best when applied to warm (not hot) donuts. Now get creative!
Serving and Storing Your Donuts
Oh, the joy of serving homemade donuts still warm from the fryer! That first bite when the sugar coating crackles and the inside practically melts in your mouth? Pure bliss. I always serve mine within an hour of frying—that’s when they’re absolute perfection.
Leftovers? Store cooled donuts in an airtight container at room temperature for up to 2 days. Between us? They’re best eaten day-of, but if you must save some, try reviving them with a quick 10-second microwave zap. Just enough to bring back that fresh-fried magic!
Nutritional Information
Now, let’s be real—we’re not eating donuts for their health benefits! But if you’re curious about the nutritional breakdown (or need to justify that third donut to your inner critic), here’s the scoop. Keep in mind these numbers can vary based on your specific ingredients and how heavy-handed you are with toppings—I won’t tell if you go extra on the glaze!
A single plain donut clocks in around 220 calories, with about 12g of sugar and 9g of fat. The exact amounts depend on factors like:
- How much oil your donuts absorb during frying (proper temp means less oil absorption)
- Whether you use whole milk or lower-fat alternatives
- The type and amount of toppings you add
My advice? Enjoy these treats mindfully—savor each bite without guilt! After all, homemade means you control the ingredients, and that’s always better than mystery-shop versions. Now go forth and indulge—you’ve earned it!
Frequently Asked Questions
After years of sharing this recipe (and eating way too many donuts in the name of “testing”), I’ve heard all the questions. Here are the ones that pop up most often—with my tried-and-true answers!
Can I bake these donuts instead of frying?
Absolutely! While frying gives that classic crispy exterior, you can bake at 350°F (175°C) for about 10-12 minutes in a greased donut pan. They’ll be slightly denser but still delicious—brush with melted butter right after baking to mimic that fried texture.
Why are my donuts coming out greasy?
Two likely culprits: oil temperature or overcrowding. If your oil dips below 340°F during frying, the donuts absorb too much. And never add more than 2-3 donuts at once—it cools the oil fast. A candy thermometer is your best friend here!
Can I make the dough ahead of time?
I don’t recommend it—the baking powder starts working immediately. For fresh donuts, mix and fry within an hour. That said, you can prep dry ingredients the night before—just add wet ingredients when ready to fry.
How do I fix dough that’s too sticky?
Ah, the classic issue! Add flour 1 tablespoon at a time until it’s manageable—but stop as soon as it’s workable. Too much flour makes tough donuts. Pro tip: wet your hands slightly when handling sticky dough—game changer!
What’s the best oil for frying donuts?
Neutral oils with high smoke points work best. My top picks: peanut oil (for crispness), vegetable oil (budget-friendly), or canola oil (light flavor). Avoid olive oil—its flavor overpowers and it smokes at frying temps.
Still have questions? Drop them in the comments—I love helping fellow donut lovers troubleshoot!
Share Your Donut Success
Alright, donut champion—now I want to hear from you! There’s nothing I love more than seeing photos of your golden-brown creations or hearing how your family reacted to homemade donuts for the first time. Did your kids go wild for the sprinkles? Maybe you discovered a genius new topping combo? Spill all the delicious details!
Leave a comment below telling me about your donut adventure—the triumphs, the funny kitchen mishaps (we’ve all been there!), and especially which topping stole your heart. Snap a quick photo if you can—I live for those proud “look what I made!” moments.
And hey, if this recipe gave you that “I can’t believe I made these” feeling, consider giving it a star rating to help other home bakers find their way to donut glory. Your feedback helps me create even better recipes for everyone!
Now go enjoy your donuts—you’ve earned every sugary, blissful bite. Remember, the best donuts are the ones shared with people you love… unless they’re all for you—no judgment here!
Print
How to Make 3-Minute Donuts So Good They Beat Store-Bought
- Total Time: 25 mins
- Yield: 12 donuts 1x
- Diet: Vegetarian
Description
Learn how to make delicious donuts at home with this simple recipe. Perfectly soft, fluffy, and flavorful—you may never need to buy them again.
Ingredients
- 2 cups all-purpose flour
- 1/2 cup granulated sugar
- 1 tsp baking powder
- 1/2 tsp salt
- 1/2 cup milk
- 2 eggs
- 2 tbsp melted butter
- 1 tsp vanilla extract
- Oil for frying
Instructions
- Mix dry ingredients: flour, sugar, baking powder, and salt in a bowl.
- Add milk, eggs, melted butter, and vanilla extract. Stir until smooth.
- Knead the dough lightly, then roll it out to 1/2-inch thickness.
- Cut into donut shapes using a donut cutter or round cookie cutter.
- Heat oil in a deep pan to 350°F (175°C).
- Fry donuts for 1-2 minutes per side until golden brown.
- Drain on paper towels and let cool slightly before glazing or coating with sugar.
Notes
- Keep oil temperature steady for even frying.
- Let dough rest for 10 minutes before rolling for easier handling.
- Customize toppings with cinnamon sugar, chocolate glaze, or sprinkles.
- Prep Time: 15 mins
- Cook Time: 10 mins
- Category: Dessert
- Method: Frying
- Cuisine: American
Nutrition
- Serving Size: 1 donut
- Calories: 220
- Sugar: 12g
- Sodium: 150mg
- Fat: 9g
- Saturated Fat: 4g
- Unsaturated Fat: 4g
- Trans Fat: 0g
- Carbohydrates: 30g
- Fiber: 1g
- Protein: 4g
- Cholesterol: 45mg
Keywords: homemade donuts, easy donut recipe, fried donuts, donut glaze