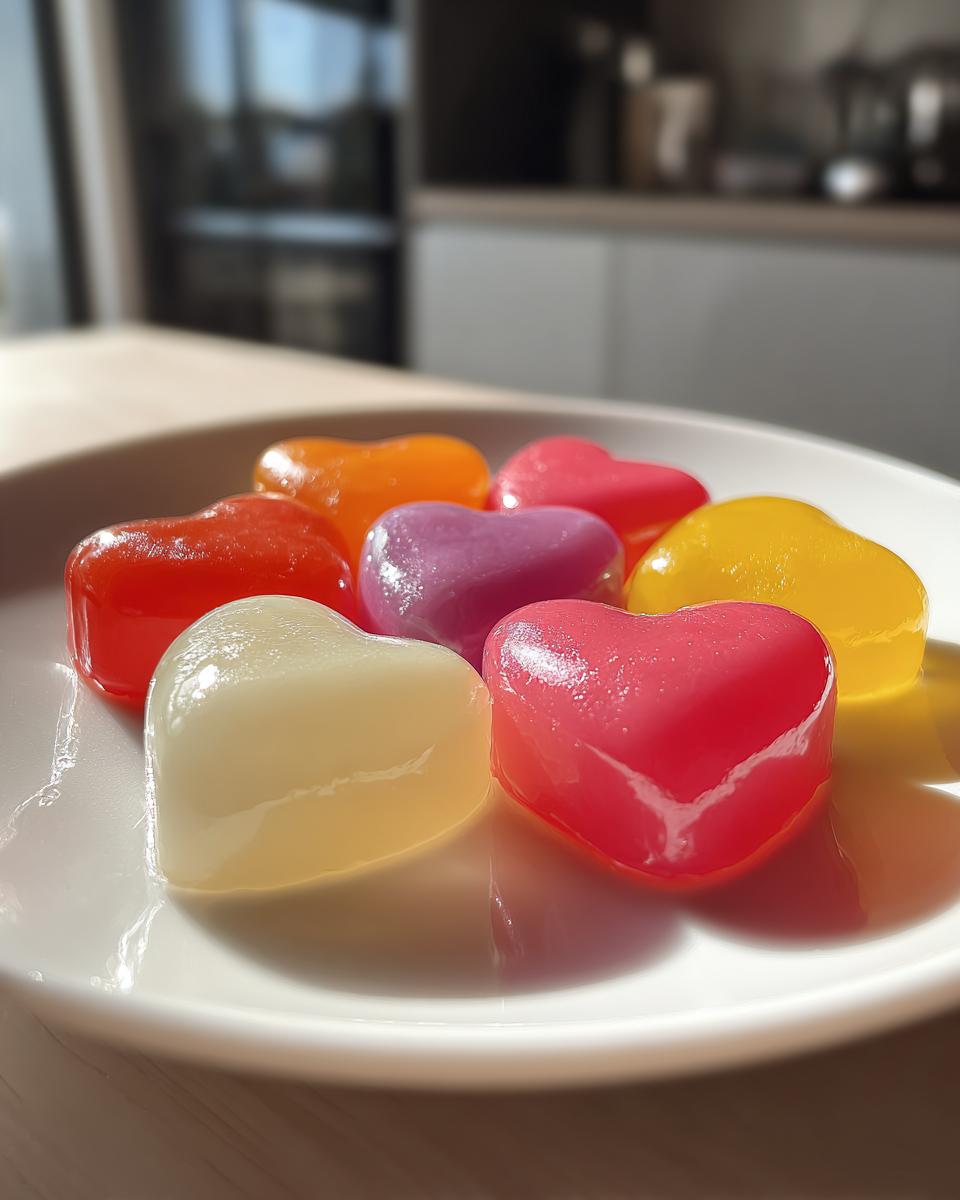
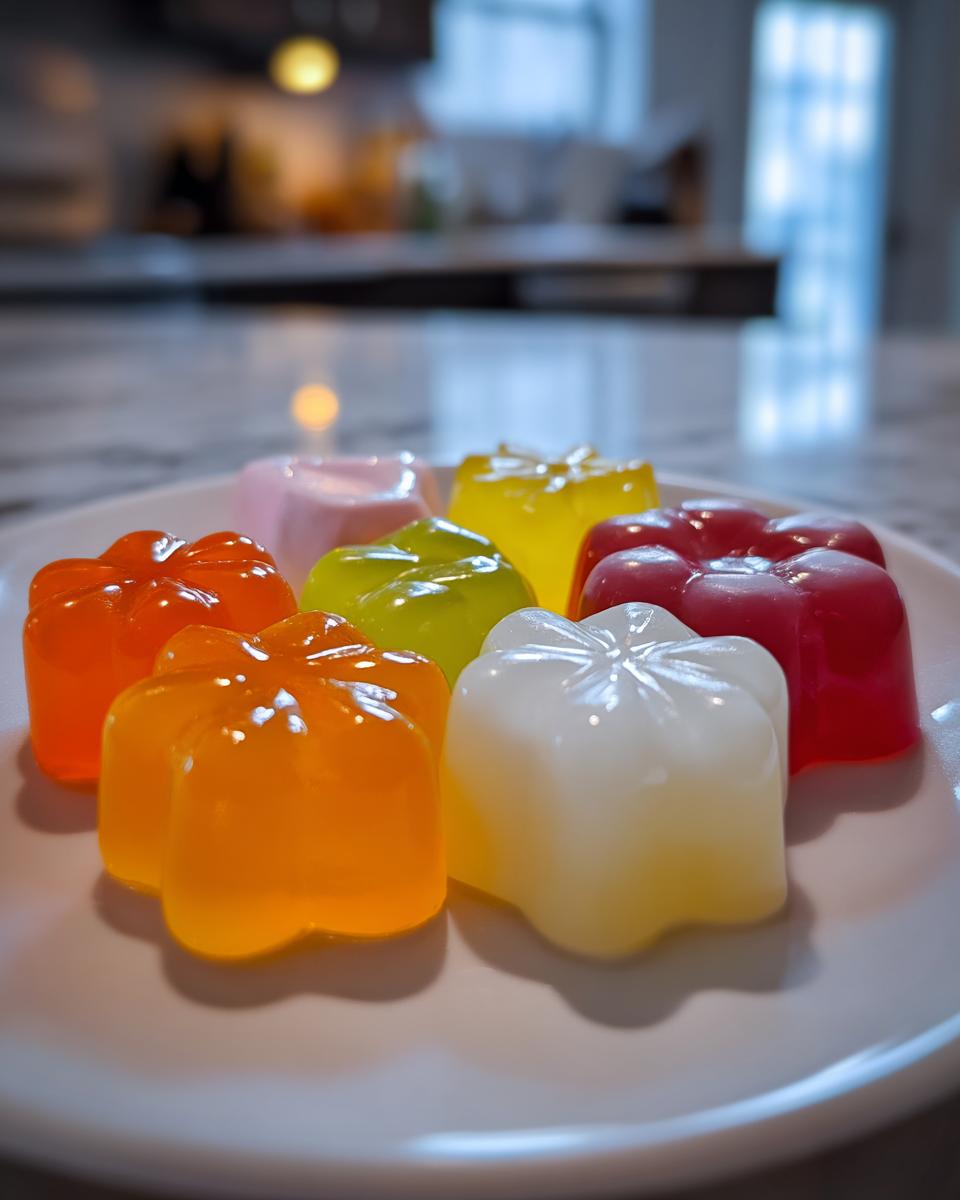
There’s nothing quite like the magic of making homemade candy delights with kids! Their wide-eyed wonder when simple sugar transforms into shiny, delicious treats is priceless. I’ll never forget my niece’s first time helping me pour hot syrup into star-shaped molds – she kept peeking into the kitchen every 30 seconds asking “Are they candy yet?!” That’s the joy of these easy homemade candies: quick results that keep little ones engaged from start to finish.
These aren’t just any sweets – they’re edible science experiments where kids can watch sugar crystals form and colors swirl. The best part? You probably have all the ingredients in your pantry right now. My go-to recipe uses just five basic items, and the whole process takes about 30 minutes from measuring to munching (though it’ll feel like forever to your impatient helpers!).
Over years of candy-making with kids at birthday parties and rainy day activities, I’ve perfected this foolproof method. No fancy equipment needed – just a saucepan, some molds, and plenty of napkins for sticky fingers. Trust me, the mess is half the fun when you’re creating sweet memories along with homemade candy delights!

Why You’ll Love These Homemade Candy Delights for Kids
These homemade candies aren’t just treats – they’re magical little science projects disguised as dessert! Here’s why they’ve become my go-to activity with kids:
Quick and Simple Ingredients
You likely have everything in your pantry already! Sugar, water, corn syrup, vanilla – that’s it. No fancy chocolate tempering or obscure extracts. I love recipes where I can say “Yes!” when kids ask to help make something right now.
Perfect for Little Hands
The pouring and molding steps let kids take charge (with grown-up handling the hot syrup, of course). Watching their concentration as they carefully fill each candy mold is absolutely precious. Pro tip: Use squeeze bottles for less messy pouring!
- Instant gratification: Unlike cookies that need baking, these set quickly so kids see results fast
- Customizable fun: Let them pick colors and shapes – we’ve made everything from dinosaurs to rainbows
- Safe sweetness: No raw eggs or complicated techniques – just supervised sugar magic
- Edible chemistry: Watching sugar transform teaches science concepts deliciously
The best part? These candies create memories as sweet as the treats themselves. My kitchen walls still have traces of rainbow-colored sugar splatters from last year’s candy-making marathon!
Ingredients for Homemade Candy Delights for Kids
This recipe proves that the simplest ingredients often make the most magical treats! Here’s everything you’ll need for foolproof homemade candy:
- 1 cup granulated sugar – Pack it lightly when measuring
- 1/2 cup water – Straight from the tap is fine
- 1/4 cup light corn syrup – Helps prevent crystallization
- 1 teaspoon pure vanilla extract – The good stuff makes all the difference!
- Food coloring (optional) – Liquid or gel both work beautifully
- Candy molds – Silicone ones pop out treats easiest
That’s it – just five pantry staples plus food coloring if you want to get fancy! I always have these ingredients on hand for impromptu candy-making sessions. The corn syrup might seem optional, but trust me, it’s the secret to that perfect smooth texture kids love.
Equipment You’ll Need
You won’t need fancy gadgets to make these candy delights! Here’s my trusty toolkit:
- Medium saucepan – Heavy-bottomed works best for even heating
- Candy thermometer – Essential for hitting that perfect 300°F mark
- Silicone spatula – For stirring without scratching your pan
- Candy molds – Silicone or plastic both work great
- Measuring cups/spoons – Accuracy matters with candy-making
That’s it – everything you probably already have in your kitchen! No special equipment required, promise.
Step-by-Step Instructions for Homemade Candy Delights for Kids
Ready to transform simple ingredients into magical candy? Here’s exactly how we do it in my kitchen – with plenty of giggles and “oohs” along the way!
Preparing the Sugar Syrup
First, combine sugar, water, and corn syrup in your saucepan – this is where adult supervision comes in since we’re dealing with hot sugar. Medium heat works best to dissolve the sugar without scorching it. Stir gently with your silicone spatula until the mixture looks clear, about 3-5 minutes. Then comes the exciting part: stop stirring and let it boil untouched until your candy thermometer hits exactly 300°F (the “hard crack” stage). This takes about 10 minutes, and you’ll see the syrup turn from bubbly to thick and glossy. I always tell kids “This is when the sugar magic happens!”
Coloring and Molding the Candy
Once at temperature, pull the pan off the heat immediately – sugar keeps cooking otherwise! Now’s the fun part: stir in your vanilla and food coloring. Kids love choosing colors – we’ve done everything from unicorn pastels to superhero reds. Work quickly but carefully as the syrup starts to thicken. Pour into molds using your spatula to guide it (or let older kids help with squeeze bottles for less mess). The syrup sets fast, so have your molds ready on a heat-safe surface. Within about 15 minutes, you’ll hear the best sound: little fingers tapping hardened candy ready to be popped out!
Pro tip: If syrup starts hardening in the pan, just return it to low heat for 30 seconds to loosen up. And always keep a bowl of ice water nearby – sugar burns are no joke, but a quick dunk fixes any accidental finger dips!
Tips for Perfect Homemade Candy Delights for Kids
After many sticky-fingered candy-making adventures with kids, here are my hard-earned secrets for success:
Temperature is everything: That candy thermometer isn’t just a suggestion – it’s your best friend! If the syrup doesn’t hit 300°F, your candies will stay sticky. Too hot, and they’ll taste burnt. I keep a glass of cold water nearby to test small drips – perfect candies harden instantly with a “snap!”
Work fast but don’t panic: The syrup starts setting quickly once it’s off the heat. Have all molds ready before you start cooking. If it thickens too much while pouring, just return the pan to low heat for a quick 30-second rewarm.
Storage smarts: These candies stay fresh in airtight containers for about a week (if they last that long!). Layer them between parchment paper to prevent sticking. Hot tip: Hide the container unless you want little hands sneaking treats all day!
Cleanup tricks: Soak your pan immediately in hot water – hardened sugar is no joke! For sticky fingers (and countertops), a warm, wet towel works wonders.
Fun Variations to Try
Once you’ve mastered the basic recipe, the real fun begins! These homemade candies are like edible playdough for your imagination. Swap vanilla for peppermint extract during the holidays – the kids go crazy for that cool tingle. Citrus lovers? A teaspoon of orange or lemon zest adds a bright pop of flavor.
We’ve collected all sorts of fun molds over the years: dinosaurs for my nephew’s birthday, hearts for Valentine’s Day, even alphabet letters for spelling out names. The dollar store often has seasonal shapes that make these treats extra special. Pro tip: Dust the molds with powdered sugar before pouring for an unexpected snowy effect!
For rainbow candies, divide the syrup before coloring and layer different hues in the molds. Watching kids’ faces light up when they bite into a multicolored treat? That’s the best kind of kitchen magic.
Storing and Serving Suggestions
These homemade candy delights stay fresh and tasty when stored right! I always use airtight containers – my go-to is an old cookie tin that makes a satisfying “pop” when opened. Layer the candies between sheets of parchment paper to prevent sticking (learned this the hard way after a batch of star candies fused into one big blob!).
For serving, get creative! We love arranging them in mini cupcake liners for parties or tying bundles with ribbon as sweet favors. They’re perfect packed in lunchboxes (hidden under the sandwich so they’re a surprise!) or served alongside ice cream for an extra special dessert. Just be warned – once kids taste these, you’ll be making them every weekend!
Nutritional Information
Just a friendly heads up – these nutritional estimates are for one piece of candy made exactly as written! The values can change depending on your ingredients. Each treat contains about 50 calories, mostly from the sugar (hey, it IS candy after all!). We keep portions small since they’re so sweet – perfect for little hands to enjoy in moderation.
Frequently Asked Questions
Can I use honey instead of corn syrup?
Oh, I’ve tried this! While honey adds lovely flavor, it doesn’t prevent crystallization like corn syrup does. Your candies might turn out grainy instead of glassy-smooth. If you’re out of corn syrup, try a tablespoon of lemon juice instead – the acidity helps stabilize the sugar.
Why did my candy turn out sticky?
This usually means the syrup didn’t reach 300°F – that perfect “hard crack” stage is crucial! Next time, be patient and watch that thermometer like a hawk. Also, humid days can make candies sticky, so I avoid making them when it’s raining if possible.
Can little kids help make these?
Absolutely! My 4-year-old niece loves measuring ingredients and picking colors. I handle the hot syrup pouring, but she’s in charge of tapping the molds to release bubbles. Just establish “no touch” zones and keep little hands away from the stove. Pro tip: Have them stand on a step stool at the counter – it makes them feel so important!
How do I clean hardened sugar from my pan?
Soak it overnight in hot water – the sugar will dissolve right off! For stubborn spots, simmer some water in the pan to loosen everything. Trust me, scrubbing hardened sugar is a workout nobody needs.
Can I make these without molds?
You bet! Pour the syrup onto a parchment-lined baking sheet and let it harden into one big sheet, then break it into shards like stained glass candy. My kids call these “candy earthquakes” and love the irregular shapes!
Share Your Candy Creations
I’d love to see your candy-making adventures! Snap a photo of your little ones’ proud faces holding their homemade treats (messy hands and all!) and share in the comments below. Did you try any fun shapes or colors? Any kitchen disasters turned into funny stories? Let’s swap candy-making tales – the sweeter the better!
Print
5-Ingredient Homemade Candy Delights Kids Will Adore
- Total Time: 30 mins
- Yield: 24 pieces 1x
- Diet: Vegetarian
Description
Simple and fun homemade candy recipes perfect for kids to enjoy.
Ingredients
- 1 cup granulated sugar
- 1/2 cup water
- 1/4 cup light corn syrup
- 1 tsp vanilla extract
- Food coloring (optional)
- Candy molds
Instructions
- Combine sugar, water, and corn syrup in a saucepan.
- Heat on medium until sugar dissolves, stirring occasionally.
- Bring to a boil and cook until it reaches 300°F on a candy thermometer.
- Remove from heat and stir in vanilla and food coloring.
- Pour into molds and let cool completely.
- Pop out candies and serve.
Notes
- Adult supervision is required for boiling sugar.
- Store in an airtight container for up to a week.
- Experiment with different flavors and colors.
- Prep Time: 10 mins
- Cook Time: 20 mins
- Category: Dessert
- Method: Stovetop
- Cuisine: American
Nutrition
- Serving Size: 1 piece
- Calories: 50
- Sugar: 12g
- Sodium: 0mg
- Fat: 0g
- Saturated Fat: 0g
- Unsaturated Fat: 0g
- Trans Fat: 0g
- Carbohydrates: 13g
- Fiber: 0g
- Protein: 0g
- Cholesterol: 0mg
Keywords: homemade candy, kids treats, easy dessert