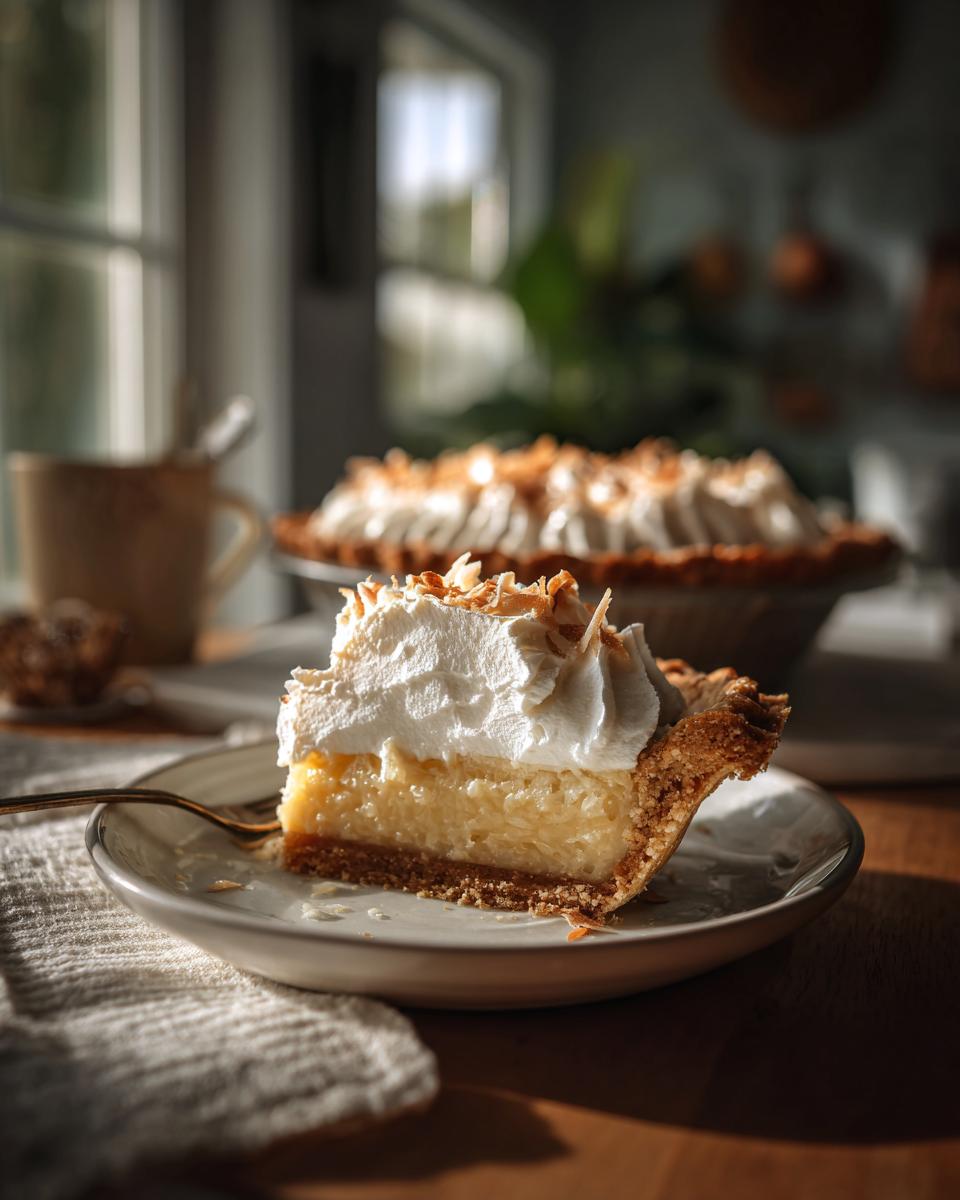
Oh, there’s just something magical about a homemade dessert, isn’t there? That feeling of warmth and comfort when you bring something delicious out of your own oven, or, in this case, off the stovetop and into a pie crust! Today, we’re diving headfirst into pure bliss with a classic Coconut Cream Pie. Seriously, this pie is like a hug in dessert form – it’s creamy, dreamy, and just hits all the right nostalgic notes. I remember the first time I *really* made one myself, not just from a mix, and I was absolutely hooked by how that velvety filling came together. This recipe is my go-to because it’s surprisingly simple but delivers that unbelievably rich, creamy coconut flavor and texture that just makes you close your eyes and savor every single bite. Trust me, it’s a winner!
Why You’ll Love This Coconut Cream Pie
Get ready to fall in love with this pie! It’s:
- Super Easy to Make: Seriously, it comes together faster than you’d think.
- Incredibly Creamy: That filling is just pure velvety goodness!
- Bursting with Coconut Flavor: You get that delicious coconut taste in every single bite.
- Always a Crowd-Pleaser: Everyone, and I mean *everyone*, adores this pie.
Ingredients for the Perfect Coconut Cream Pie
Alright, let’s talk pie! To get that unbelievably creamy, dreamy coconut filling, you’ll need just a few simple things. Don’t worry, nothing fancy here, just good old-fashioned goodness!
- One pre-baked 9-inch pie crust (store-bought is totally fine, no judgment here!)
- 1 cup granulated sugar
- 1/4 cup cornstarch (this is our thickening magic!)
- 1/2 teaspoon salt (just to balance everything out)
- 2 cups milk (whole milk gives the best creamy texture, but use what you have!)
- 4 large egg yolks, lightly beaten (save those whites for meringues or an omelet!)
- 2 tablespoons butter (real butter, always!)
- 1 teaspoon vanilla extract (for that extra cozy flavor)
- 1 1/2 cups shredded sweetened coconut (this is where the coconut magic happens!)
- Lots of whipped cream for topping (because, obviously!)
Essential Equipment for Making Coconut Cream Pie
You don’t need a whole professional kitchen for this pie! Just a few trusty tools will get you there. You’ll definitely want a good, sturdy medium saucepan for making that luscious filling. A trusty whisk is a must-have for getting everything super smooth and lump-free. And of course, you’ll need a classic 9-inch pie plate – make sure it’s pre-baked and ready to go!
Step-by-Step Guide to Your Coconut Cream Pie
Alright, let’s get cooking! Making this pie is honestly such a joy, and I’m going to walk you through every single step. It might seem like a lot, but trust me, it’s way easier than it looks, and the payoff is HUGE. That silky smooth filling is totally worth it! If you’re looking for even more easy pie ideas, check out this delicious no-bake coconut cream pie recipe too!
Preparing the Creamy Coconut Filling
First things first, let’s get that incredible filling going. Grab your medium saucepan. Into that, you’re going to whisk together the granulated sugar, cornstarch, and salt. Give it a good whisk until it’s all nicely combined. This is important for preventing lumps later on!
Now, slowly start whisking in the milk. Keep whisking until it’s all smooth and there are no dry bits hiding at the bottom. You want it to look perfectly smooth, like a silky blanket. Then, pop that saucepan over medium heat. Stir constantly! This is not the time to wander off and check your phone. You need to stir, stir, stir until the mixture gets nice and thick and starts to bubble. Let it bubble for just about a minute more while you keep stirring like crazy. Then, take it off the heat.
Here comes a little trick to make sure your egg yolks don’t scramble – you have to temper them! Take about half a cup of that hot milk mixture and *slowly* drizzle it into your lightly beaten egg yolks while whisking like a madwoman. This gently heats up the yolks. Once that’s incorporated, pour that warm yolk mixture *back* into the saucepan with the rest of the milk mixture. Pop it back onto medium heat and cook for another 2 minutes, stirring the whole time. You really don’t want this to boil at this stage, or you might get little scrambled bits. Just a gentle cook!
Off the heat again! Now, stir in that lovely butter and the vanilla extract until the butter is all melted and gorgeous. Finally, it’s time for the star of the show – stir in that shredded sweetened coconut. Oh, the smell already!
Assembling and Chilling Your Coconut Cream Pie
Now for the satisfying part! Carefully pour that warm, creamy coconut filling right into your pre-baked pie crust. Make sure it gets all the way to the edges. You want every slice to have that delightful coconut goodness.

Here’s a crucial tip to get that super smooth, lovely surface on your pie: Press a piece of plastic wrap *directly* onto the surface of the filling. Make sure it’s touching everywhere. This stops that weird, rubbery skin from forming while it chills. It sounds simple, but believe me, it makes a world of difference! Now, you’ve got to be patient. Pop that pie into the refrigerator and let it chill. You’ll want to leave it for at least 4 hours, but honestly, overnight is even better if you can wait. It needs to get nice and firm so it slices like a dream. I always try to make mine the day before if I can – it just gives those flavors time to meld!
Tips for the Ultimate Coconut Cream Pie
Alright, let’s talk about making this coconut cream pie absolutely PERFECT. It’s already pretty darn amazing, but a few little tricks can take it from “wow” to “OMG, I need another slice!” I’ve tinkered with this recipe a bunch over the years, and these are my absolute favorite ways to make sure it turns out beautifully every single time. It’s all about those little details that really make a difference, you know? Plus, if you’re curious about making your own heavy cream from scratch, you can check out this handy guide! And speaking of delicious coconut treats, you might also love these coconut lemon curd thumbprint cookies!
Ingredient Substitutions and Notes
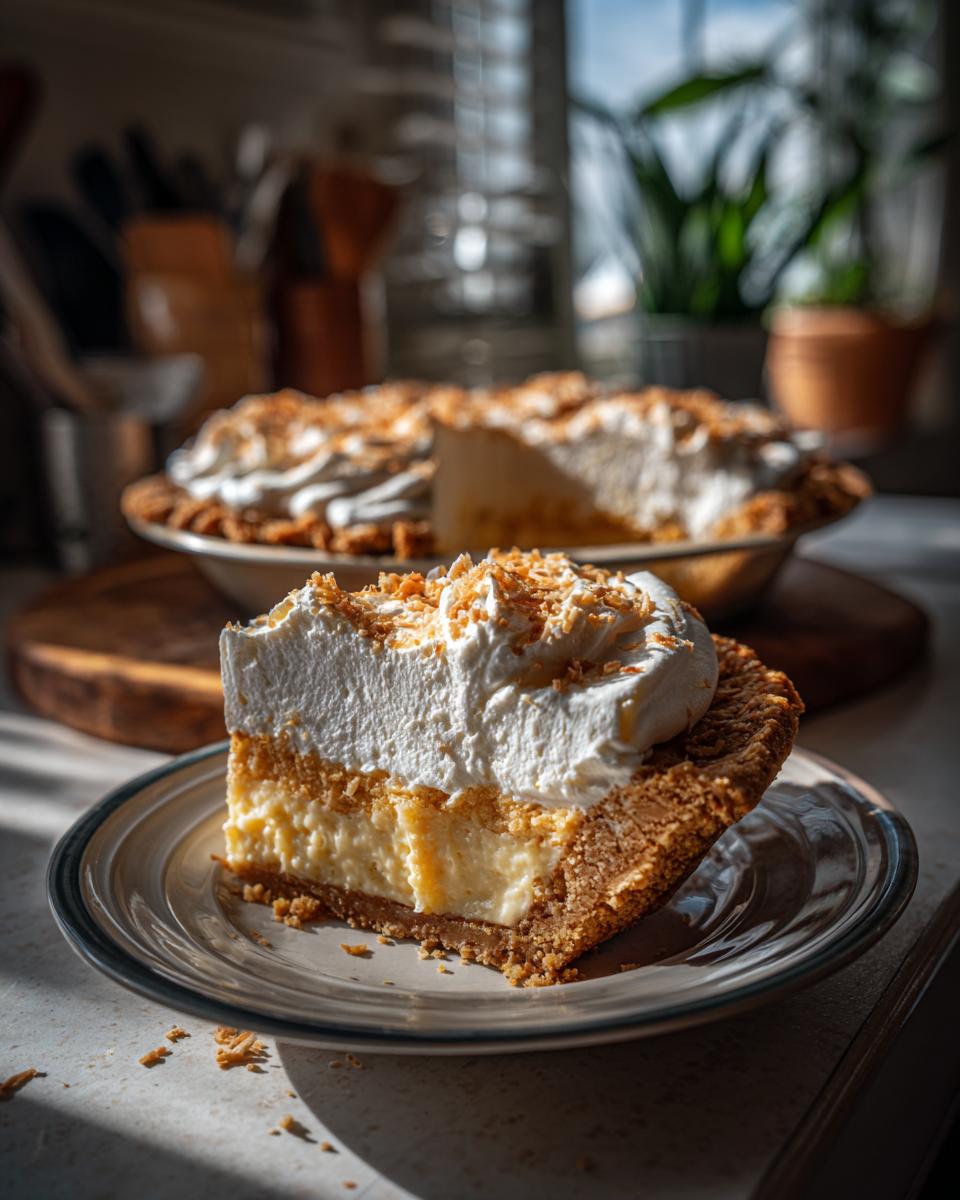
So, about those ingredients! For the milk, whole milk is my go-to because it makes the filling extra rich and creamy. But honestly, if you only have 2% or even skim, it’ll still work great, just maybe a tiny bit less decadent. And the coconut? Oh, toasting that shredded coconut before you add it is a game-changer! It brings out this nutty, deeper coconut flavor that’s just divine. Just spread it on a baking sheet and pop it in a 350°F (175°C) oven for a few minutes, watching it like a hawk until it’s lightly golden. Totally optional, but so worth it!
Achieving the Perfect Texture
The secret to that unbelievably smooth filling really boils down to a couple of things. First, that tempering step with the egg yolks is super important – it ensures you get a silky smooth custard, not scrambled eggs! Also, don’t skip pressing the plastic wrap directly onto the filling’s surface while it chills. It’s the best way to prevent that less-than-appealing skin from forming. And make sure it’s *thoroughly* chilled; a warm pie just doesn’t slice nicely, and the flavors really settle in when it’s cold.
Serving and Storing Your Coconut Cream Pie
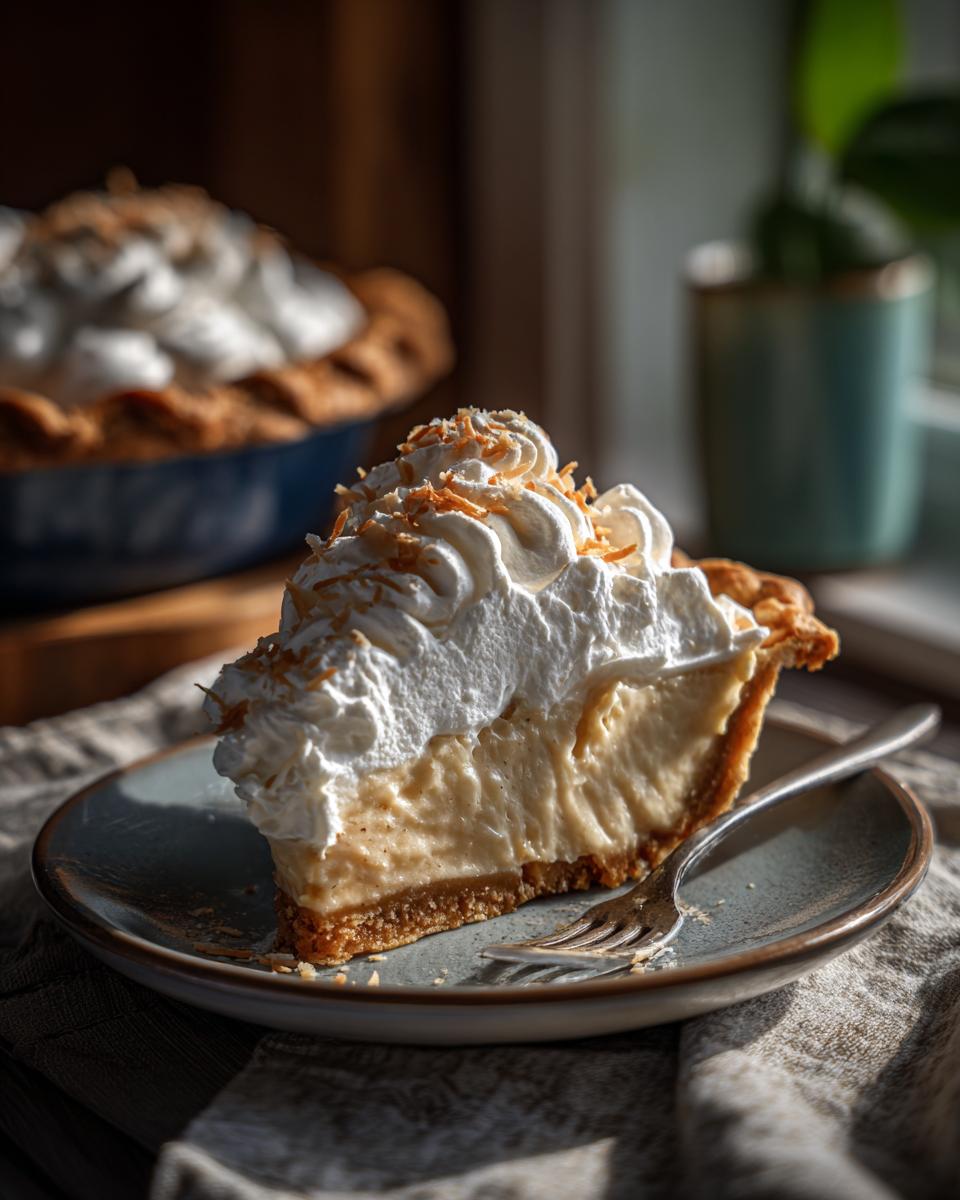
Alright, the hardest part is over – your beautiful pie is chilled and ready! You absolutely HAVE to top this masterpiece with a generous dollop of fluffy whipped cream. It’s just not complete without it! Sometimes I add a little sprinkle of those toasted coconut flakes I mentioned earlier right on top of the whipped cream for extra flair. It looks so pretty!
Now, for leftovers (if you even have any!), just pop the pie loosely covered in the fridge. It’ll keep nicely for about 2-3 days. Honestly, it tastes best the first day, but it’s still delicious the next day or two. You don’t want to reheat it, though – it’s meant to be served nice and cold!
Frequently Asked Questions about Coconut Cream Pie
Got questions about this creamy dream? I’ve got answers! Making a pie is a labor of love, and sometimes little things pop up. Don’t worry, we’ll get you sorted! If you’re looking for other pie inspiration, this fresh strawberry pie is also amazing!
Why did my Coconut Cream Pie filling not thicken?
Oh no, a runny filling is a bummer! Usually, this happens because it just didn’t cook long enough or reach that bubbling stage where the cornstarch really does its job. Make sure you cooked it until it was thick and truly bubbling for at least a minute. Also, double-check that you measured your cornstarch correctly – too little and it just won’t thicken up properly. Keep whisking, and be patient!
Can I make this Coconut Cream Pie ahead of time?
Absolutely! In fact, I often make mine the day before I need it. The chilling time is super important for the filling to set up properly and for all those yummy flavors to meld together. Just make sure you press that plastic wrap right onto the surface to keep it fresh and smooth. It’ll stay great in the fridge for 2-3 days, though the crust might soften a bit the longer it sits.
What kind of coconut is best for this pie?
For this classic Coconut Cream Pie, I always reach for shredded sweetened coconut. It gives you that perfect balance of flavor and sweetness that’s just right for this dessert. It also tends to hold its shape nicely in the filling. You can use sweetened or unsweetened if you prefer, but you might need to adjust the sugar in the filling a bit. Fine shred works great!
Estimated Nutritional Information
Okay, so you’re probably wondering about the nitty-gritty details, right? While every kitchen is a little different, based on my recipe, a slice of this glorious Coconut Cream Pie clocks in at about 350 calories. You can expect around 18g of fat (don’t you worry, most of that’s the good kind!), about 5g of protein, and roughly 45g of carbohydrates, with about 30g of that being sugar. Remember, these are just estimates, and what kind of milk you use or how much whipped cream you add can change things up a bit!
Print
Coconut Cream Pie
- Total Time: 20 min
- Yield: 8 servings 1x
- Diet: Vegetarian
Description
A classic coconut cream pie with a flaky crust and a rich, creamy filling.
Ingredients
- 1 pre-baked 9-inch pie crust
- 1 cup granulated sugar
- 1/4 cup cornstarch
- 1/2 teaspoon salt
- 2 cups milk
- 4 large egg yolks, lightly beaten
- 2 tablespoons butter
- 1 teaspoon vanilla extract
- 1 1/2 cups shredded sweetened coconut
- Whipped cream, for topping
Instructions
- In a medium saucepan, whisk together sugar, cornstarch, and salt.
- Gradually whisk in milk until smooth.
- Cook over medium heat, stirring constantly, until the mixture thickens and bubbles.
- Cook for 1 minute more, stirring constantly. Remove from heat.
- Slowly stir about 1/2 cup of the hot milk mixture into the beaten egg yolks.
- Pour the egg yolk mixture back into the saucepan, stirring constantly.
- Return the saucepan to medium heat and cook, stirring constantly, for 2 minutes more. Do not boil.
- Remove from heat and stir in butter and vanilla extract until butter is melted and incorporated.
- Stir in the shredded coconut.
- Pour the filling into the pre-baked pie crust.
- Cover the surface of the filling directly with plastic wrap to prevent a skin from forming.
- Chill for at least 4 hours, or until firm.
- Before serving, remove plastic wrap and top with whipped cream.
Notes
- For a richer flavor, use half-and-half instead of milk.
- Toast the shredded coconut before adding it to the filling for a deeper flavor.
- Ensure the pie is thoroughly chilled before slicing and serving.
- Prep Time: 20 min
- Cook Time: 15 min
- Category: Dessert
- Method: Baking
- Cuisine: American
Nutrition
- Serving Size: 1 slice
- Calories: 350
- Sugar: 30g
- Sodium: 200mg
- Fat: 18g
- Saturated Fat: 12g
- Unsaturated Fat: 6g
- Trans Fat: 0g
- Carbohydrates: 45g
- Fiber: 2g
- Protein: 5g
- Cholesterol: 80mg
Keywords: coconut cream pie, creamy pie, coconut dessert, homemade pie, classic pie