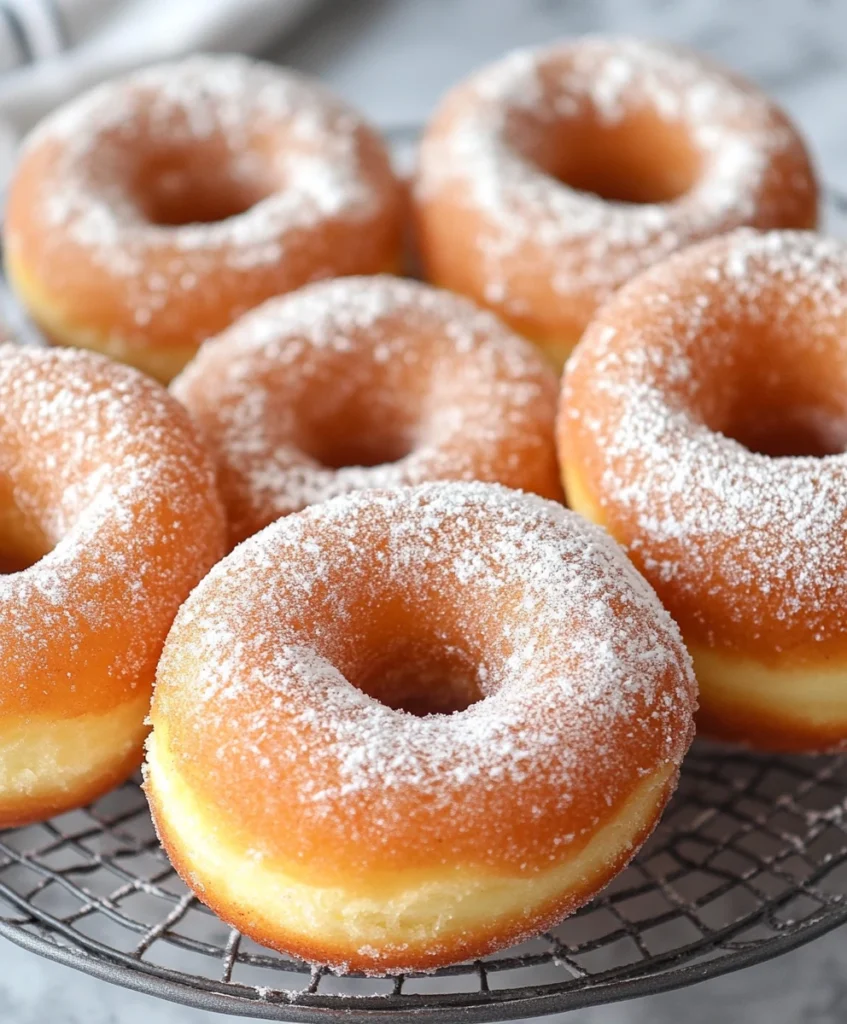
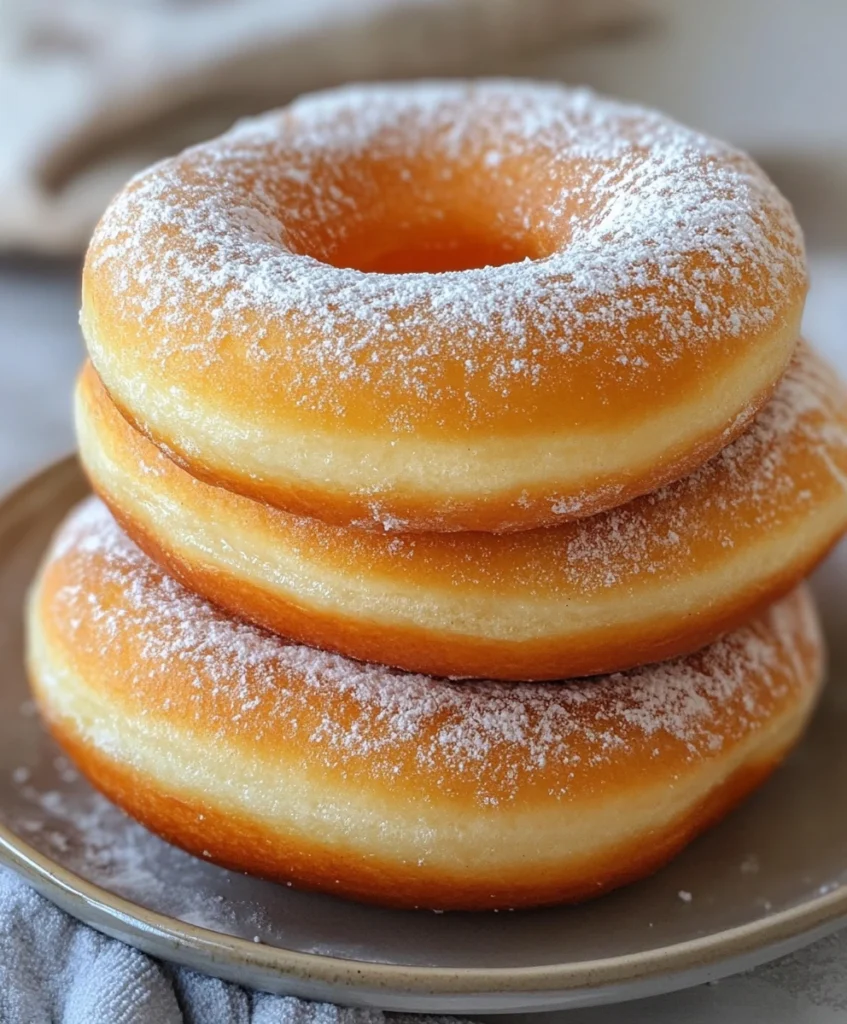
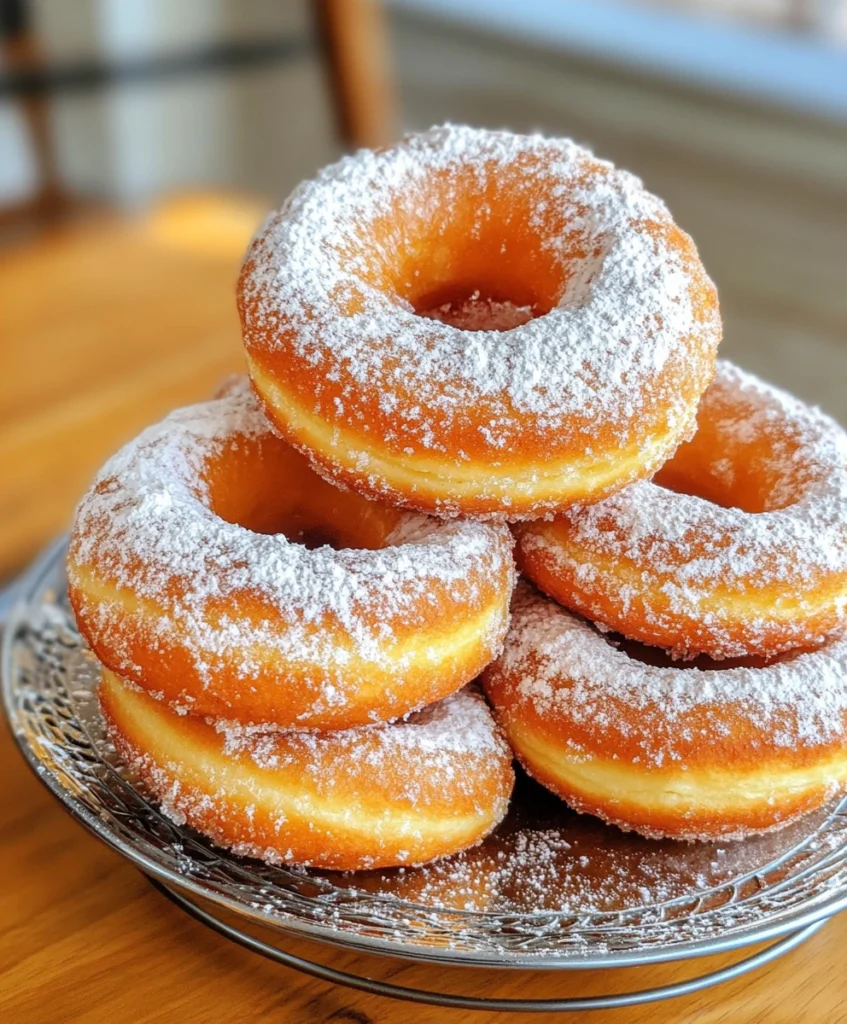
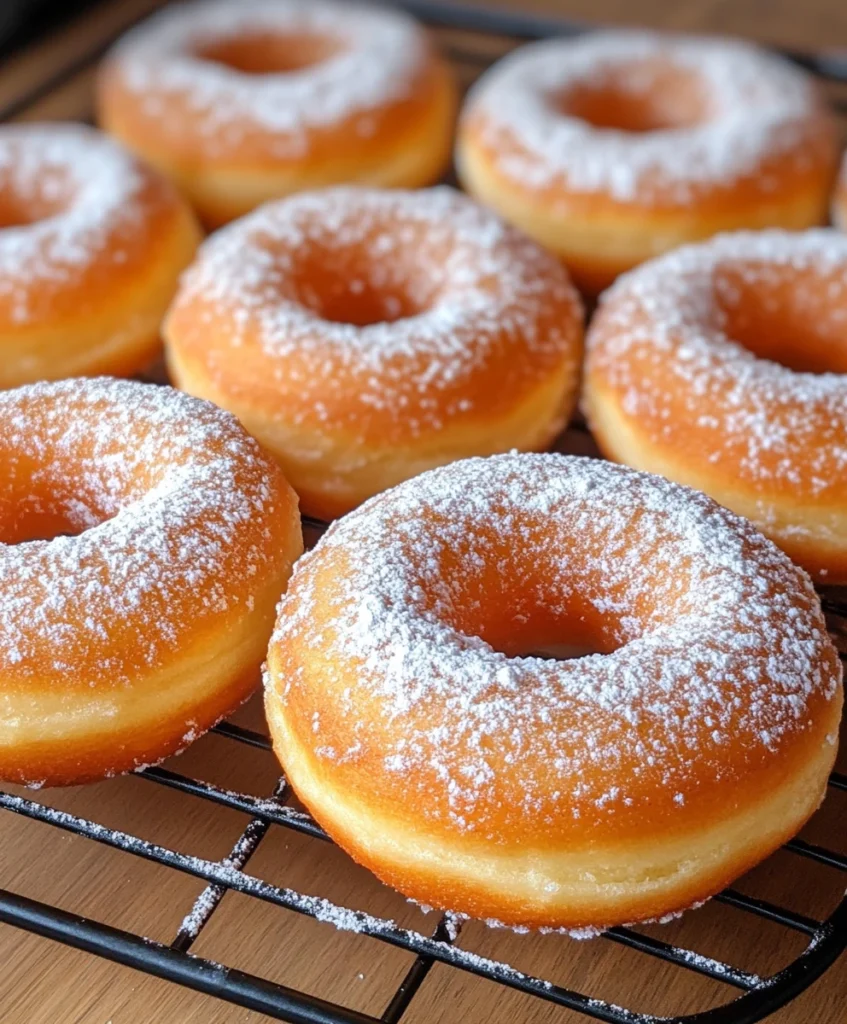
There’s something almost magical about biting into a warm, pillowy doughnut that’s been freshly fried and generously dusted with powdered sugar. It’s the kind of experience that makes time slow down for a moment—that one perfect bite melting in your mouth, taking you somewhere softer, sweeter, and simpler.
For me, that “somewhere” is my grandmother’s kitchen.
Every Sunday morning, like clockwork, she’d wake before the rest of us, apron already tied, hands dusted in flour. I used to sneak out of bed just to sit quietly and watch her, the way she gently mixed the dough, shaped each ring, and lowered them into the oil with the sort of patience only a baker possesses. Her doughnuts weren’t flashy. They didn’t have sprinkles or fillings. But they were perfect. Warm, golden rings of love, finished with a snowfall of powdered sugar.
Today, I want to share her recipe with you—not just the instructions, but the heart and soul behind it. Whether it’s your first time making doughnuts from scratch or you’re a weekend baking warrior, I promise these classic homemade doughnuts will steal your heart just like they stole mine.
🛒 Ingredients – The Building Blocks of Nostalgia
The ingredients are simple and pantry-friendly, but each plays a crucial role in delivering that soft, cloud-like bite with just the right hint of sweetness.
- 2 1/4 teaspoons active dry yeast (1 packet)
- 3/4 cup warm milk (about 110°F – comfortably warm to the touch)
- 1/4 cup granulated sugar
- 2 tablespoons unsalted butter, melted and slightly cooled
- 1/2 teaspoon salt
- 1 large egg
- 2 1/2 cups all-purpose flour (plus more for dusting)
- Neutral oil for frying (vegetable, canola, or sunflower oil – about 4 cups)
- Powdered sugar for dusting (as much as your heart desires)
Ingredient Notes & Substitutions:
- Milk: Whole milk is ideal for richness, but you can use 2% or even oat milk in a pinch.
- Butter: If you’re dairy-free, feel free to use plant-based butter or even coconut oil.
- Yeast: Make sure your yeast is fresh and hasn’t expired. If it doesn’t bubble in the warm milk, it might be dead (and that means your dough won’t rise properly).
- Flour: All-purpose works beautifully here, but bread flour can give a chewier bite if that’s your preference.
💬 Why I Keep Coming Back to This Doughnut Recipe
I’ve dabbled in baking all kinds of sweets—from croissants to cupcakes—but doughnuts have my heart. There’s just something about homemade ones that feels intimate and joyful. They’re humble, sure, but somehow feel like a celebration every time. And unlike the overly sweet, commercial ones you buy at a store, these have a delicate flavor balance: lightly sweet with a golden crust and airy middle.
Also… that powdered sugar dusting? I swear it tastes like childhood.
I make these doughnuts on holidays, for brunch gatherings, or just when I need a little comfort on a rainy day. They never disappoint.
👩🍳 Step-by-Step: Making the Dough
Let’s walk through this slowly and calmly—there’s no rush. Making yeasted doughnuts is a process, but it’s a joyful one, and it’s actually much easier than it sounds.
Step 1: Wake Up the Yeast
In a large mixing bowl (or the bowl of your stand mixer), add the warm milk. Sprinkle the yeast over the top and let it sit for 5-10 minutes until it looks foamy and bubbly. That means the yeast is alive and ready to work its magic.
Tip: If your yeast doesn’t foam, the milk might have been too hot or the yeast too old. Don’t move forward unless it activates—this is the foundation of your dough.
Step 2: Mix in the Good Stuff
Once the yeast is ready, whisk in the sugar, melted butter, salt, and egg. It should look like a smooth, slightly yellow mixture.
Gradually add the flour, about 1/2 cup at a time, mixing after each addition. If you’re using a stand mixer, use the dough hook on medium-low speed. If doing it by hand, stir with a wooden spoon until it becomes too stiff, then knead it with your hands on a floured surface.
You want a soft, slightly sticky dough—but not too sticky that it clings to everything. It should pull away from the sides of the bowl cleanly.
⏳ Step 3: Let it Rise (aka the Dough Nap)
This is the part where patience pays off.
Transfer the dough to a lightly oiled bowl, cover it with a clean kitchen towel or plastic wrap, and let it rise in a warm place for 1 to 1.5 hours, or until doubled in size.
While you wait, maybe put on some jazz, light a candle, or clean up a bit. I like to take this quiet time to prep the frying area and choose the plate I’ll use to serve them. Presentation matters—it adds that little sprinkle of love.
🍩 Step 4: Shape the Doughnuts
Once the dough has risen, punch it down gently (my grandma always called this the “don’t-be-shy moment”) and turn it out onto a floured surface.
Roll it out to about 1/2-inch thickness—not too thin, or they’ll fry too quickly and dry out.
Use a doughnut cutter if you have one. If not, a large round cookie cutter or even the rim of a drinking glass works great. Then use a small bottle cap or shot glass to cut out the centers.
Tip: Save those doughnut holes! Fry them too. They’re perfect little poppers.
Place your shaped doughnuts onto a baking sheet lined with parchment paper. Cover loosely and let them rest for 15-20 minutes. This short second rise helps them puff up beautifully during frying.
🔥 Step 5: Fry to Golden Perfection
Now we’re getting to the good part.
Heat about 2-3 inches of oil in a deep pot or Dutch oven over medium heat. You want the oil temperature to be 350°F (175°C). Use a thermometer if you have one—temperature control is key here.
Carefully lower 2-3 doughnuts at a time into the oil. Don’t crowd them! Fry for about 1 minute per side, or until both sides are golden brown and puffed.
Remove with a slotted spoon and transfer to a paper towel-lined tray.
Repeat until all your doughnuts are fried. And don’t forget those adorable doughnut holes!
❄️ Step 6: Powdered Sugar Shower
While the doughnuts are still warm (not hot), place them on a wire rack over a tray and dust them generously with powdered sugar using a fine-mesh sieve or sifter.
This is my favorite part. Watching that snowy sugar fall over the golden rings—it’s like the final magical touch.
📌 Don’t Forget to Pin This Recipe!
Love a good nostalgic bake? Follow us on Pinterest for more cozy, homemade treats like this:
👉 https://www.pinterest.com/memorecipes1/

💡 In Part 2…
In the second half of this post, I’ll walk you through:
- Tips for success (like keeping your oil temp just right)
- Flavor variations (cinnamon sugar, chocolate glaze, filled doughnuts!)
- How to store & reheat leftovers
- Serving suggestions and my favorite cozy drink pairings
- And of course, more personal stories (including the one about the time I made 60 doughnuts for a block party 😅)
🍩 Classic Homemade Doughnuts Dusted with Powdered Sugar – Part 2 🍩
Your cozy, golden escape continues…
✅ Pro Tips for Doughnut Success (Things I Wish I Knew Earlier)
1. Temperature is Everything
The number one thing that makes or breaks homemade doughnuts? Oil temperature. If the oil is too hot, the doughnuts brown too fast on the outside while staying raw inside. Too cold, and they soak up oil and turn greasy.
📌 Aim for 350°F (175°C) and adjust as you go. I highly recommend using a clip-on thermometer for consistent results. If you don’t have one, test with a small dough piece—it should bubble immediately but not burn.
2. Don’t Overwork the Dough
It’s tempting to knead a lot or re-roll the scraps too many times. But overworked dough turns tough. Keep it light and gentle—this dough is meant to be soft and slightly sticky.
3. Dust While Warm
Powdered sugar sticks best when the doughnuts are still warm (but not straight out of the oil—give it 2–3 minutes). This helps the sugar melt just enough to cling to every crevice.
4. Let Them Rest Before Frying
That little second rise after shaping? It matters. It gives your doughnuts that beautiful puff and lighter texture. Don’t skip it.
🌈 Fun Variations to Try
This basic recipe is just the beginning. Once you’ve got it down, there’s a whole world of flavor to explore. Here are some delicious ways to mix it up:
1. Cinnamon Sugar Doughnuts
Instead of powdered sugar, toss the warm doughnuts in a mix of:
- 1 cup granulated sugar
- 1 ½ teaspoons cinnamon
It adds a cozy warmth and a satisfying crunch. So good with apple cider in the fall.
2. Chocolate Glaze
Melt together:
- 1/2 cup semisweet chocolate chips
- 2 tbsp butter
- 2 tsp corn syrup
- 1 tbsp milk
Dip the tops of your cooled doughnuts and let them set. You can even top with sprinkles or crushed nuts!
3. Filled Doughnuts (No Hole)
Skip the center cut, fry the whole round, and once cool, use a piping bag to inject with:
- Jam
- Nutella
- Vanilla custard
- Lemon curd
Then dust with powdered sugar or glaze. Honestly? Life-changing.
4. Vanilla or Citrus Glaze
Mix:
- 1 cup powdered sugar
- 2 tbsp milk
- 1/2 tsp vanilla or lemon/orange zest
Drizzle it over or dip one side. It adds just the right zing.

🥡 How to Store & Reheat Doughnuts
Let’s be real—fresh is best. But if you’ve got leftovers (or you’re prepping in advance), here’s how to keep them just as magical:
Storage Tips
- Store cooled doughnuts in an airtight container at room temperature for up to 2 days.
- For longer storage, freeze them without sugar or glaze in a ziplock bag. When ready to eat, reheat and sugar/glaze them fresh.
Reheating Tips
- Microwave: 10–15 seconds brings back softness (but don’t overdo it!).
- Oven: Warm at 300°F for about 5–6 minutes for a slightly crisp outside.
- Air Fryer: Quick 2–3 minute warm-up at 320°F does the trick too.
☕ Cozy Pairings and Serving Suggestions
A warm doughnut deserves an equally comforting drink. Here are my favorite combos:
- Hot coffee with cinnamon or cardamom
- Vanilla chai latte (especially with cinnamon sugar doughnuts)
- Cold milk – the classic, always-perfect pairing
- Mulled cider – for those crisp fall mornings
- Hot cocoa – top it with whipped cream and dip your doughnut in!
You can also turn these doughnuts into a showstopper by making a doughnut tower for brunch, birthdays, or even weddings. Stack them up on a cake stand, drizzle with glaze, and sprinkle edible flowers or berries around them. Insta-worthy and delicious.
📖 That Time I Made 60 Doughnuts…
Okay, story time.
A few summers ago, our neighborhood decided to host a spontaneous Saturday block party. I, of course, offered to make doughnuts. “I’ll just triple my grandma’s recipe—it’ll be fine,” I said, naively.
Let’s just say… it was chaos.
I ran out of counter space, used every single mixing bowl I owned, and borrowed oil from three neighbors. My kitchen looked like a powdered sugar explosion. But by 10 a.m., I had 60 golden doughnuts cooling on racks, and by noon? They were gone. Every last one.
People still talk about those doughnuts. And honestly? I kind of loved every messy second of it.
There’s something beautiful about making something with your hands and sharing it with others. It connects you—through sugar, stories, and time.
📌 Save This Recipe for Later
You’re going to want to make these again (and again).
Pin it to your baking board so it’s always just a click away:
👉 https://www.pinterest.com/memorecipes1/
💬 Final Thoughts: Doughnuts Made with Love
I hope this recipe becomes as special to you as it is to me. It’s not just about the food—it’s about the experience. The quiet moments while the dough rises. The sweet smell of sugar and butter floating through your kitchen. The joy on someone’s face when they take that first bite.
Whether you’re sharing them with friends or sneaking one with coffee before anyone else wakes up, these doughnuts are a little act of joy you can create from scratch.
Thank you for being here and baking with me. 💛

📣 Your Turn!
Have you made these doughnuts? Did you try a twist? I’d love to hear how it went!
Drop your thoughts in the comments below or tag us in your photos on Pinterest and Instagram.
And remember—flour on your hands is just another way of saying “I made something beautiful today.”
Happy frying, sweet friend. 🍩💕
#homemadedoughnuts #easybakingrecipe #classicdoughnutrecipe #cozykitchen #bestdessertrecipe #memorecipes

Recipe: Classic Homemade Doughnuts Dusted with Powdered Sugar Fluffy, golden, and kissed with sweetness – just like Grandma used to make.
- Total Time: 2 hours
- Yield: 10–12 doughnuts 1x
- Diet: Vegetarian
Description
Classic Homemade Doughnuts are fluffy, golden, and dusted with powdered sugar. A nostalgic, easy-to-make treat perfect for any day.
Ingredients
- 2 1/4 teaspoons active dry yeast (1 packet)
- 3/4 cup warm milk (about 110°F)
- 1/4 cup granulated sugar
- 2 tablespoons unsalted butter, melted
- 1/2 teaspoon salt
- 1 large egg
- 2 1/2 cups all-purpose flour (plus more for dusting)
- Neutral oil for frying (vegetable, canola, or sunflower oil – about 4 cups)
- Powdered sugar for dusting
Instructions
- In a large bowl, add warm milk and sprinkle the yeast over it. Let sit for 5–10 minutes until foamy.
- Whisk in sugar, melted butter, salt, and egg until smooth.
- Gradually mix in flour, 1/2 cup at a time, until a soft, slightly sticky dough forms.
- Knead dough on a floured surface for about 5–7 minutes, or use a stand mixer with a dough hook for 4–5 minutes.
- Place dough in a lightly oiled bowl, cover, and let rise in a warm place for 1 to 1.5 hours until doubled in size.
- Punch down the dough and roll out to 1/2-inch thickness on a floured surface.
- Cut dough into doughnut shapes using a doughnut cutter or two round cutters.
- Place shaped doughnuts on a lined baking sheet, cover, and let rise for 15–20 minutes.
- Heat oil in a deep pot to 350°F (175°C). Fry 2–3 doughnuts at a time for about 1 minute per side, until golden brown.
- Transfer to a paper towel-lined tray to drain excess oil.
- While warm, dust doughnuts with powdered sugar using a fine mesh sieve.
Notes
- Make sure the oil stays at a consistent 350°F for best results.
- Don’t overcrowd the pot while frying to maintain oil temperature.
- You can substitute whole milk with oat or almond milk.
- Use a thermometer for accurate frying temperature.
- Store cooled doughnuts in an airtight container for up to 2 days.
- Freeze unfrosted doughnuts and glaze them after reheating.
- Prep Time: 1 hour 45 minutes
- Cook Time: 15 minutes
- Category: Breakfast, Dessert, Snack
- Method: Frying
- Cuisine: American
Nutrition
- Serving Size: 1 doughnut
- Calories: 220
- Sugar: 9g
- Sodium: 95mg
- Fat: 10g
- Saturated Fat: 3g
- Unsaturated Fat: 6g
- Trans Fat: 0g
- Carbohydrates: 28g
- Fiber: 1g
- Protein: 4g
- Cholesterol: 25mg
Keywords: Classic Homemade Doughnuts, easy doughnut recipe, powdered sugar doughnuts, fluffy doughnuts, homemade fried doughnuts
