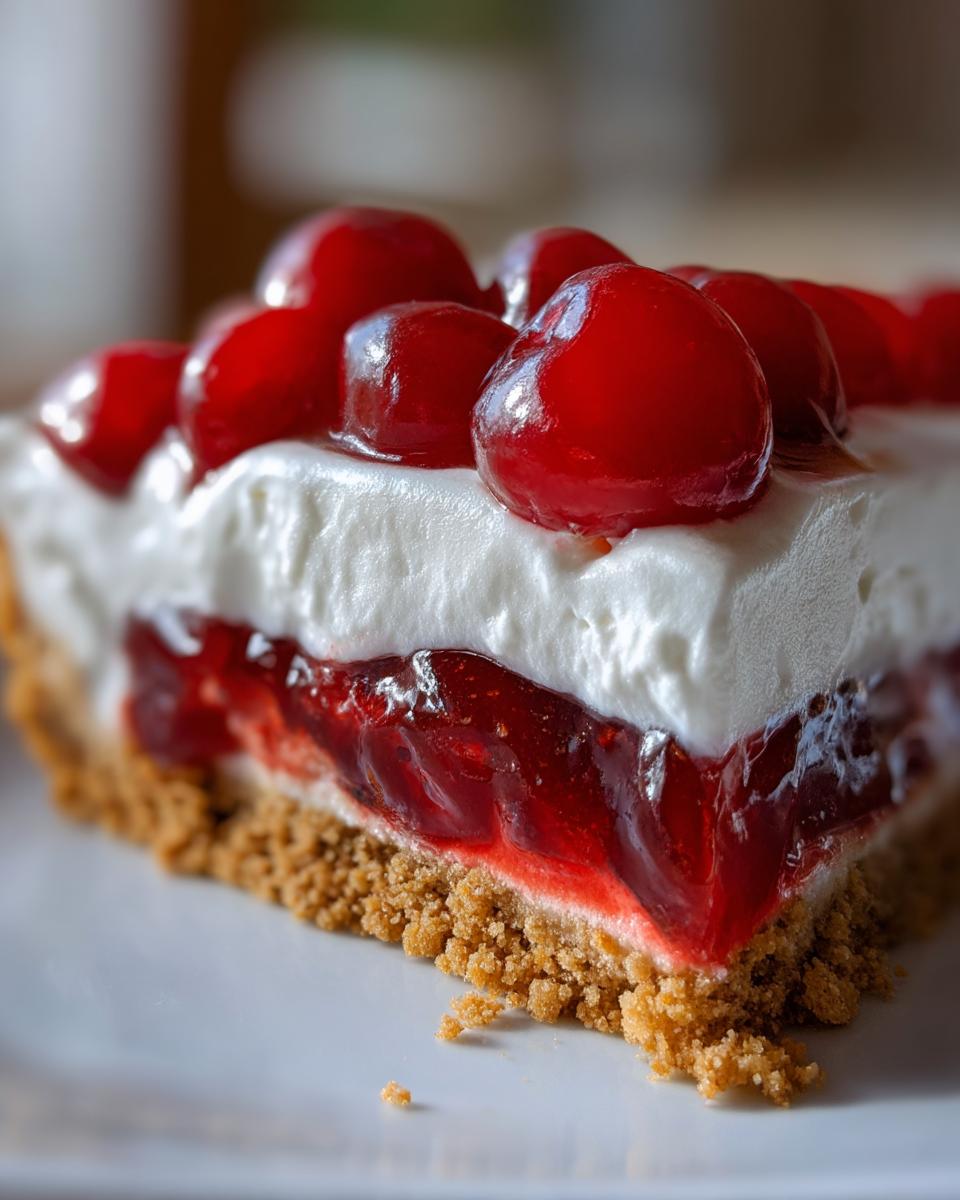
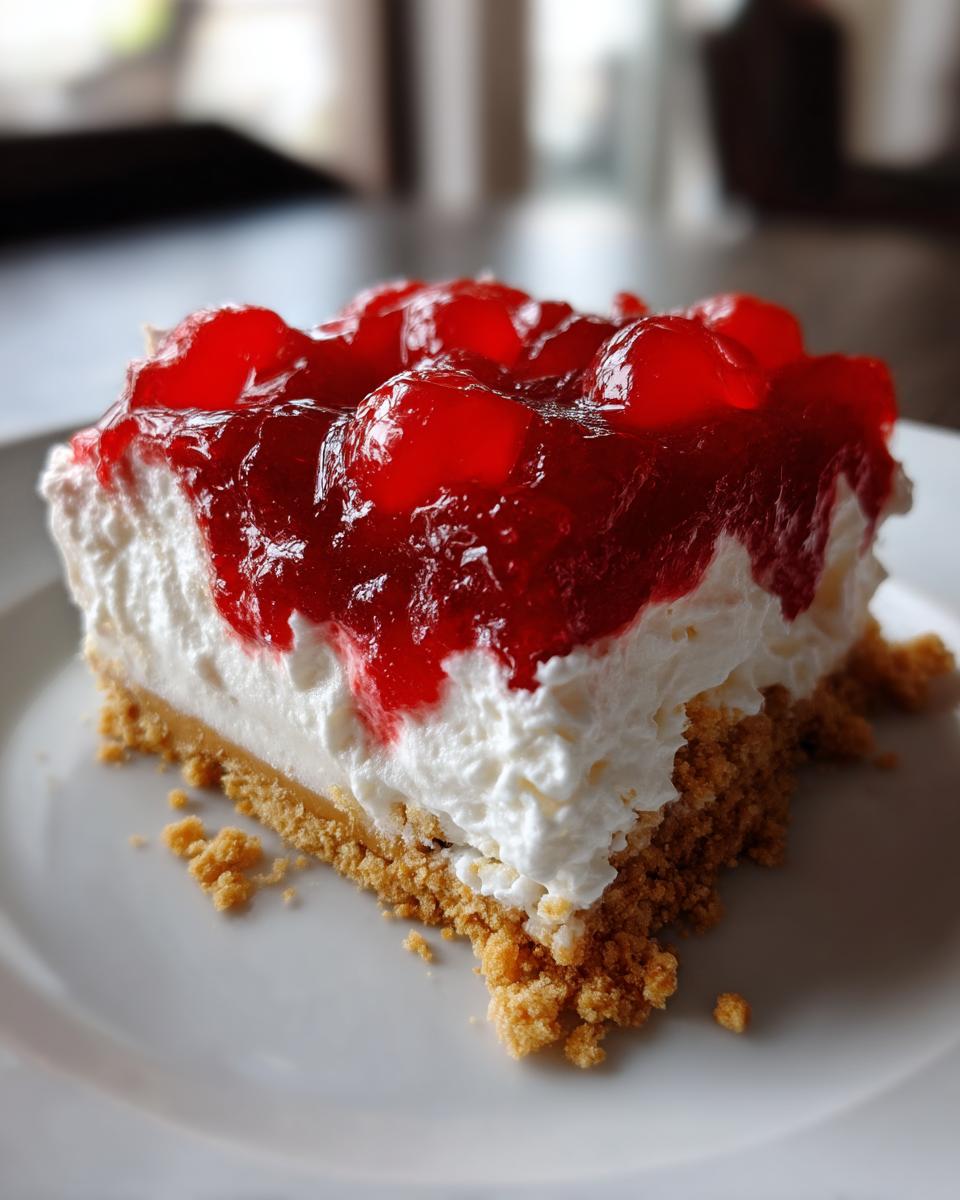
Okay, folks, let’s talk about a dessert that just screams “easy breezy deliciousness” – Cherries in the Snow! Seriously, this is one of those recipes that feels like a little hug in a dish. It’s a total classic for a reason! You get that lovely crunch from the graham cracker crust, followed by a super smooth, tangy cream cheese layer, and then BAM! Those sweet, bright cherries all nestled under a cloud of fluffy whipped topping. It’s layers of pure joy, and the best part? NO oven required! Perfect for those hot summer days or when you just don’t feel like firing up the kitchen.
Growing up, Cherries in the Snow was the go-to dessert for every potluck, picnic, and family get-together. It was always the first thing to disappear! I remember sneaking spoonfuls of that creamy filling before the cherries even went on. Shh, don’t tell my mom! It’s just so simple, but the combination of textures and flavors is surprisingly sophisticated. Trust me, if you’re looking for a showstopper that takes minimal effort but gets maximum “oohs” and “aahs,” this is it. I’ve made more no-bake desserts than I can count, and this one is always a winner in my book.

Why You’ll Love This Cherries in the Snow Recipe
So, why is this Cherries in the Snow recipe my absolute favorite? Well, besides being incredibly tasty, it’s just so wonderfully *simple*. You’ll seriously fall in love with how easy it is to whip up! Here’s the lowdown on why this dessert is a total winner:
- It’s a NO-BAKE dream! Seriously, keep that oven off. Perfect for hot days or when you just want dessert *now*.
- Super Quick Prep: You can have this beauty assembled and chilling in under 20 minutes. Easy peasy!
- Layers of Pure Delight: That crunchy crust, the tangy-sweet cream cheese, the juicy cherries, the fluffy topping… every bite is a perfect combo.
- Total Crowd-Pleaser: I’ve never met anyone who didn’t adore this dessert. It disappears fast at parties!
- Anytime is Cherries in the Snow Time: Holidays, potlucks, Tuesday night… this recipe is perfect for literally any occasion.
It’s just one of those recipes that feels like a little magic trick – so simple, but the results are *wow*!
Equipment for Making Cherries in the Snow!
Okay, good news! You don’t need a ton of fancy gadgets for this Cherries in the Snow. It’s all about keeping it simple, remember? Here’s what you’ll want to have handy in your kitchen:
- A sturdy 9×13 inch baking dish. This is the perfect size to show off all those pretty layers!
- A couple of good-sized mixing bowls for your crust and your creamy filling.
- An electric mixer or even just a good old-fashioned whisk for getting that cream cheese nice and smooth.
- A spatula for spreading everything out evenly and getting every last bit out of the bowls!
That’s pretty much it! See? Easy!
Ingredients for Your Cherries in the Snow!
Alright, let’s gather up the goodies we need to make this magic happen! The ingredients for Cherries in the Snow are pretty simple, stuff you can easily find at any grocery store. But getting them ready the right way makes all the difference!
Here’s your shopping list:
- Graham Cracker Crumbs: You’ll need about 1 and ½ cups. You can buy pre-crushed ones or just pop some graham crackers in a bag and smash ’em yourself – totally therapeutic!
- Melted Butter: About ½ a cup. Make sure it’s fully melted so it binds those crumbs together perfectly.
- Granulated Sugar: Just ¼ cup for the crust. Gives it a little sweetness.
- Cream Cheese: One 8-ounce block. This is KEY! Make sure it’s nice and soft – leave it out on the counter for a bit before you start. Hard cream cheese means lumpy filling, and we don’t want that!
- Sweetened Condensed Milk: One 14-ounce can. This is where a lot of the sweetness and creamy texture comes from. Don’t mix this up with evaporated milk!
- Lemon Juice: ½ cup. The fresh tang of lemon juice cuts through the sweetness and brightens everything up. It’s a little secret weapon!
- Vanilla Extract: 1 teaspoon. Just a splash for that classic dessert flavor.
- Frozen Whipped Topping: One 8-ounce container, like Cool Whip. Make sure it’s completely thawed before you start!
- Cherry Pie Filling: One 21-ounce can. The star of the show! Look for a good quality one with nice, plump cherries.
See? Nothing too wild! Just simple ingredients coming together for something amazing.
How to Make Cherries in the Snow! Step-by-Step
Alright, let’s get to the fun part – putting this beautiful Cherries in the Snow together! It’s really straightforward, I promise. Just follow these steps, and you’ll have a stunning dessert ready to chill.
Preparing the Graham Cracker Crust for Cherries in the Snow!
First things first, the base! Grab your graham cracker crumbs, melted butter, and sugar. Pop them into a bowl and mix everything together until it looks like wet sand. Then, pour this mixture into your 9×13 inch baking dish. Use the bottom of a glass or a flat measuring cup to really press it down firmly. You want a nice, compact layer. If you like a slightly firmer crust (which I sometimes do!), you can pop this in a 350°F oven for about 8-10 minutes, then let it cool completely. Otherwise, just move right on!
Crafting the Creamy Filling for Cherries in the Snow!
Now for that dreamy, creamy layer! Get your softened cream cheese into a clean bowl and beat it with your electric mixer (or whisk like crazy!) until it’s super fluffy and smooth. No lumps allowed! Slowly pour in the sweetened condensed milk while you keep mixing. Then, add the lemon juice and vanilla extract and beat until everything is perfectly combined and glossy. Next, take half of your thawed whipped topping and gently fold it into the cream cheese mixture. Be careful not to overmix – you want to keep that airy texture!
Layering Your Cherries in the Snow!
Time to assemble the masterpiece! Carefully spread that lovely creamy filling evenly over your graham cracker crust in the baking dish. Try to get it as smooth as possible. Now, grab that can of cherry pie filling and spoon it right over the cream cheese layer. Spread it out gently so you don’t mix the layers too much. Finally, take the rest of your thawed whipped topping and spread it over the cherry layer. Make some fun swirls or just leave it smooth – totally up to you!
Chilling Your Cherries in the Snow! to Perfection
Okay, the hardest part is waiting! This Cherries in the Snow needs time to set up properly so those layers stay distinct and the flavors meld together. Pop the dish into the refrigerator and let it chill for at least 4 hours. Honestly, overnight is even better if you can wait! The longer it chills, the easier it will be to slice and the more delicious it will taste.

Tips for Perfect Cherries in the Snow!
Making Cherries in the Snow is pretty straightforward, but a few little tricks can take it from good to absolutely amazing! Here are my go-to tips for making sure yours turns out perfect every single time:
- Soft Cream Cheese is a Must: I cannot stress this enough! If your cream cheese isn’t fully softened, you’ll end up with tiny lumps in your filling, and nobody wants that. Take it out of the fridge at least an hour before you start mixing.
- Be Gentle with the Whipped Topping: When you’re folding in the whipped topping, do it gently with a spatula. You want to keep that airy lightness, so don’t deflate it by overmixing!
- CHILL, CHILL, CHILL: Seriously, resisting the urge to dive in early is the hardest part, but it’s crucial! That minimum 4-hour chill time lets everything firm up and the flavors really get happy together. Overnight is even better!
- Warm Your Knife for Slices: Want super clean slices to show off those beautiful layers? Dip your knife in hot water and wipe it dry between each cut. It makes a huge difference!
Follow these little tips, and you’ll have a Cherries in the Snow that looks and tastes like it came from a fancy bakery!
Ingredient Notes and Substitutions for Cherries in the Snow!
One of the great things about Cherries in the Snow is how forgiving and adaptable it is! While the classic is amazing, you can totally play around with some of the ingredients.
Not a huge cherry fan? No problem! This recipe works beautifully with other pie fillings. Think blueberry, strawberry, even apple or peach! Each one gives it a completely different vibe. You could also swap out the graham crackers for other cookie crumbs – vanilla wafers or even chocolate cookies would be fantastic for the crust. And if you’re not using frozen whipped topping, you can absolutely make your own fresh whipped cream. Just sweeten heavy cream and whip until soft peaks form. Just know that homemade whipped cream might not hold its shape quite as long, but the taste is divine!
Frequently Asked Questions About Cherries in the Snow!
Okay, I get a few questions about Cherries in the Snow pretty often, so let’s tackle those! It’s always good to feel confident before you start a new recipe.
- Can I use fresh cherries instead of pie filling? You *could*, but it would be a totally different dessert! The pie filling is thickened and sweetened, which is essential for that distinct layer and moisture. Fresh cherries would release too much liquid and wouldn’t give you the same texture. Stick with the canned pie filling for this one!
- Can I make Cherries in the Snow ahead of time? Absolutely! In fact, I recommend it. Making it the day before you plan to serve it is perfect. It gives it plenty of time to chill and set up beautifully. Just cover it loosely with plastic wrap.
- How long does Cherries in the Snow last in the fridge? Properly covered, this dessert will last for about 3-4 days in the refrigerator. The crust might soften a bit over time, but the flavors are still great!
- Can I freeze Cherries in the Snow? You can, but the texture of the creamy layer and the whipped topping might change a little after thawing. It can get a bit watery or grainy. It’s definitely best enjoyed fresh from the fridge!
Hope that clears things up! Happy baking (well, no-baking!)!
Estimated Nutritional Information
Just so you have an idea of what’s in a slice of this delicious Cherries in the Snow, here’s a quick estimated nutritional breakdown per serving. Keep in mind that these are just estimates, and the actual values can change depending on the exact brands and ingredients you use!
- Calories: Approx. 450
- Fat: Approx. 22g
- Protein: Approx. 5g
- Carbohydrates: Approx. 60g
Enjoy your treat!
Print
Amazing Cherries in the Snow 20-Min Joy!
- Total Time: 4 hours 20 minutes
- Yield: 12 servings 1x
- Diet: Vegetarian
Description
A delightful no-bake dessert featuring layers of cherry pie filling and a creamy whipped topping on a graham cracker crust.
Ingredients
- 1 ½ cups graham cracker crumbs
- ½ cup melted butter
- ¼ cup granulated sugar
- 8 ounces cream cheese, softened
- 1 can (14 ounces) sweetened condensed milk
- ½ cup lemon juice
- 1 teaspoon vanilla extract
- 1 container (8 ounces) frozen whipped topping, thawed
- 1 can (21 ounces) cherry pie filling
Instructions
- Combine graham cracker crumbs, melted butter, and sugar in a bowl. Press firmly into the bottom of a 9×13 inch baking dish.
- In a separate bowl, beat cream cheese until fluffy. Gradually beat in sweetened condensed milk, lemon juice, and vanilla extract until smooth.
- Fold in half of the whipped topping. Spread this mixture evenly over the graham cracker crust.
- Spread the cherry pie filling over the cream cheese layer.
- Spread the remaining whipped topping over the cherry pie filling.
- Chill for at least 4 hours before serving.
Notes
- For a firmer crust, bake the graham cracker crust at 350°F (175°C) for 8-10 minutes before adding the filling.
- You can substitute other fruit pie fillings for the cherry.
- Ensure the cream cheese is fully softened for a smooth filling.
- Prep Time: 20 minutes
- Cook Time: 0 minutes
- Category: Dessert
- Method: No-Bake
- Cuisine: American
Nutrition
- Serving Size: 1 slice
- Calories: 450
- Sugar: 45g
- Sodium: 250mg
- Fat: 22g
- Saturated Fat: 14g
- Unsaturated Fat: 6g
- Trans Fat: 0g
- Carbohydrates: 60g
- Fiber: 1g
- Protein: 5g
- Cholesterol: 45mg
Keywords: cherries in the snow, no bake dessert, cherry dessert, graham cracker crust, whipped topping