Okay, so picture this: a hot summer day, maybe you’re craving something sweet and nostalgic, but you don’t want to fire up the oven or spend ages layering pudding and cookies. That’s where this little gem comes in! I grew up on classic banana pudding – the kind with the Nilla wafers getting all soft and dreamy. It was a Sunday dinner staple at our house, always served in that big glass trifle dish. Pure comfort food, right?
But sometimes, you just need that comfort *fast* and *cold*. That’s why I started playing around, and let me tell you, turning that beloved dessert into a creamy, dreamy milkshake was a stroke of pure genius, if I do say so myself! This Banana Pudding Milkshake is like the best parts of that classic dessert, but ready in about five minutes flat. Seriously, blink and you’ve got it.
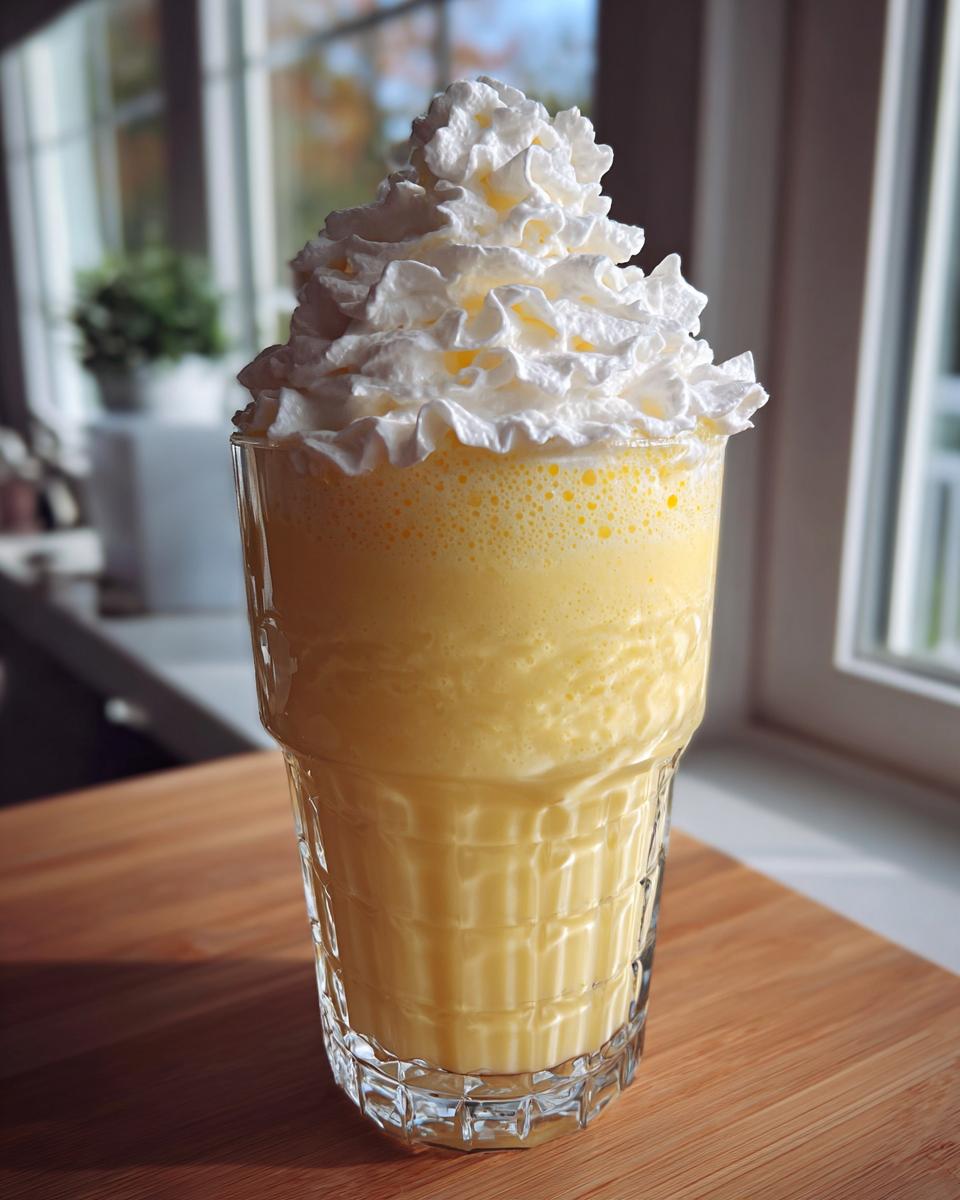
It’s got that perfect blend of sweet banana, creamy vanilla ice cream, and those essential vanilla wafer crumbs that bring all the nostalgia. It’s thick, it’s refreshing, and it hits all the right notes. Forget complicated desserts; this is your new go-to when a serious sweet craving strikes. Trust me, you’re going to LOVE how simple yet totally delicious this is!

Why You’ll Love This Banana Pudding Milkshake
Okay, so why is *this* milkshake the one you need in your life right now? Well, besides the obvious deliciousness (which, let’s be honest, is a HUGE reason!), it’s just so darn easy and satisfying. Seriously, it ticks all the boxes when you need a little treat without a lot of fuss. Here’s the quick lowdown on why you’ll be making this on repeat:
- It’s lightning fast! We’re talking maybe 5 minutes from craving to sipping. Perfect for those “I need dessert NOW” moments.
- The flavor is spot on. It genuinely tastes like banana pudding in a glass – all that sweet banana, creamy goodness, and those little bits of wafer nostalgia.
- Total craving crusher. Got a sweet tooth? This milkshake handles it beautifully without being overly heavy.
- Super refreshing. It’s cold, creamy, and absolutely perfect for a warm day or anytime you want a cool, sweet treat.
Ingredients for Your Banana Pudding Milkshake
Making this magical milkshake doesn’t require a trip to a fancy store or anything complicated, which is another reason I adore it! You probably have most of this stuff hanging around already. Here’s what you’ll need to gather up to get this deliciousness blended:
- 2 ripe bananas
- 1/2 cup milk (I usually use whole milk for extra creaminess, but whatever you have works!)
- 1/2 cup really good vanilla ice cream
- 1/4 cup crushed vanilla wafers (these are key!)
- 1 tablespoon sugar (totally optional, depends on how sweet you like things and how ripe your bananas are)
- Whipped cream for topping (also optional, but highly recommended for that classic look!)
Choosing the Best Bananas for Banana Pudding Milkshake
Alright, listen up, this is important! You want bananas that are *ripe*. Like, maybe even a little spotty. Those green or firm ones just won’t cut it here. Ripe bananas are sweeter and blend up smoother, giving you that perfect banana flavor and creamy texture without any weird chunks. Trust me on this one!
Vanilla Wafer Magic in Your Banana Pudding Milkshake
Okay, the vanilla wafers are non-negotiable if you want that true “banana pudding” vibe. They add that specific flavor and a tiny bit of texture that just screams nostalgia. You can crush them yourself in a baggie or just pulse them quickly in the blender before adding the other stuff. Don’t skip these little guys!

Equipment Needed for a Perfect Banana Pudding Milkshake
Good news! You don’t need a ton of fancy gadgets for this. The main thing you absolutely *must* have is a blender. Any kind will do, really – a regular stand blender, an immersion blender, even a personal-sized one. As long as it can handle ice cream and bananas, you’re golden! You’ll also need some measuring cups and spoons, and obviously, a glass to pour your delicious creation into. See? Super simple!
How to Make Your Delicious Banana Pudding Milkshake
Alright, now for the fun part – putting it all together! This is seriously one of the easiest things you’ll ever make, but the results are so impressive. We’re going to turn those simple ingredients into a thick, creamy, and utterly delicious milkshake that tastes just like your favorite banana pudding. Get your blender ready, because this is going to be quick!
The key here is getting everything into the blender in the right order to help it blend smoothly and quickly. No one wants a lumpy milkshake, right? We’re aiming for that perfect, sippable consistency with those delightful little bits of vanilla wafer mixed in. Don’t worry if it seems a little thick at first; we can always adjust it. Just follow these simple steps, and you’ll be sipping pure happiness in no time!
Step-by-Step Guide to Your Banana Pudding Milkshake
Okay, let’s do this! It’s super straightforward, promise.
- Get everything ready: First things first, peel those ripe bananas. Break them into a few pieces so your blender doesn’t have to work too hard. Measure out your milk, ice cream, and crushed vanilla wafers. If you’re using sugar, measure that too. Having everything ready to go makes the blending process even faster!
- Into the blender they go: Toss the banana pieces into your blender. Next, add the milk and the vanilla ice cream. Now, sprinkle in those crushed vanilla wafers – don’t forget them, they’re crucial for that pudding flavor! If you’re adding sugar, put that in now too.
- Blend it up: Put the lid on your blender *securely* (learned that the hard way once!). Start blending on a low speed to get things moving, then increase to a higher speed. You want to blend until everything looks smooth and creamy. You might need to stop and scrape down the sides a couple of times with a spatula to make sure all those banana chunks and wafer bits get fully incorporated. Keep blending until there are no visible lumps and it’s a nice, thick liquid.
- Check the consistency: Take a peek! Is it too thick? Add a tiny splash more milk (like a tablespoon at a time) and give it another quick blend. Too thin? Add another small scoop of ice cream or a few more crushed wafers and blend again. It’s all about getting it just how *you* like it.
- Pour and top: Once it’s the perfect consistency, carefully pour the milkshake into your serving glasses. If you’re feeling fancy (or just want that classic look!), top it off with a swirl of whipped cream.
- Serve immediately: This is key! Milkshakes are best enjoyed right away while they’re cold and thick. Grab a straw and dig in!
See? So easy! In just a few minutes, you’ve got a delicious, nostalgic treat that’s perfect for any time you need a little sweet escape.
Tips for Success with Your Banana Pudding Milkshake
Making this milkshake is pretty foolproof, but a few little tricks can make it *extra* amazing. These are things I’ve picked up along the way to get that perfect texture and flavor every time. Little things can make a big difference, you know?
- Playing with thickness: Want it thick enough to stand your spoon in? Use a little less milk or add another scoop of ice cream. Prefer it more sippable? A splash more milk will loosen it right up. Don’t be afraid to adjust until it’s just right for you!
- Frozen banana power: If you want a super cold and extra-thick milkshake without adding ice (which can water things down), use frozen banana slices instead of fresh. Just make sure your blender can handle frozen fruit!
- Sweetness check: The amount of sugar you might need really depends on how ripe your bananas are and how sweet your ice cream is. Start without the sugar, blend, and then give it a little taste. If you think it needs it, add it a teaspoon at a time and blend again until it’s perfect for your taste buds.
Banana Pudding Milkshake Variations to Try
Okay, so the basic recipe is absolutely divine, but sometimes it’s fun to play around a little and put your own spin on things, right? This milkshake is super forgiving, so feel free to get a little creative once you’ve mastered the original. Here are a few ideas I love to switch things up:
- A hint of something extra: A tiny splash of rum extract can add a really nice, warm depth of flavor that pairs beautifully with the banana. Or maybe a pinch of cinnamon or nutmeg? Just a little bit makes a difference.
- Caramel drizzle dreams: Drizzle some warm caramel sauce around the inside of your glass before pouring the milkshake in, or swirl some on top with the whipped cream. Banana and caramel are a match made in heaven!
- Chocolate lovers unite: Okay, maybe not *strictly* banana pudding anymore, but adding a tablespoon of cocoa powder or a handful of chocolate chips and blending them in is seriously delicious.
Don’t be afraid to experiment! That’s part of the fun of cooking, isn’t it?
Frequently Asked Questions About Banana Pudding Milkshake
Okay, so you’ve got the recipe, you know my secrets, but maybe a few questions are still swirling around in your head? Totally normal! Here are some common things people ask about making this yummy banana pudding milkshake, along with my best advice to help you out.
Can I Make This Banana Pudding Milkshake Dairy-Free?
Absolutely! You can definitely make this banana pudding milkshake dairy-free. Just swap out the regular milk for your favorite plant-based milk (almond, oat, or soy milk work great!). Then, choose a good quality dairy-free vanilla ice cream. Make sure your vanilla wafers are also dairy-free (most are, but it’s always good to double-check the ingredients!). It’ll be just as delicious and creamy!
How to Achieve a Thicker Banana Pudding Milkshake
Want a milkshake that’s extra thick, almost like a spoon needs encouragement to get through it? Easy peasy! The simplest way is to use less milk than the recipe calls for initially. You can also add more vanilla ice cream, which really helps with thickness. Another trick I mentioned earlier is using frozen banana slices instead of fresh ones – they make the milkshake incredibly thick and cold without watering it down like ice would. Just play with the milk and ice cream amounts until you hit your perfect thickness!
Estimated Nutritional Information
Okay, so I’ve included some nutritional information below, but please remember this is just an estimate! The actual numbers can change depending on the exact kind of milk you use, the brand of ice cream, and even how ripe your bananas are. Think of it as a general guide rather than a strict calculation. Enjoy your milkshake knowing you made it with love!
Enjoying Your Homemade Banana Pudding Milkshake
Alright, you’ve done it! You’ve whipped up a batch of this amazing banana pudding milkshake. Now comes the best part – enjoying every single sip! Seriously, take a moment to savor that creamy, nostalgic goodness. I really hope you give this recipe a try, and if you do, please come back and tell me all about it! Did you add whipped cream? Try a fun variation? I’d absolutely love to see photos of your creations or just hear how much you loved it in the comments below!
Print
Amazing Banana Pudding Milkshake in 5 Minutes
- Total Time: 5 minutes
- Yield: 2 servings 1x
- Diet: Vegetarian
Description
Thick and creamy milkshake with the flavors of banana pudding.
Ingredients
- 2 ripe bananas
- 1/2 cup milk
- 1/2 cup vanilla ice cream
- 1/4 cup crushed vanilla wafers
- 1 tablespoon sugar (optional)
- Whipped cream for topping (optional)
Instructions
- Combine bananas, milk, ice cream, crushed vanilla wafers, and sugar (if using) in a blender.
- Blend until smooth.
- Pour into glasses.
- Top with whipped cream if desired.
- Serve immediately.
Notes
- For a thicker milkshake, use less milk or more ice cream.
- You can substitute frozen bananas for a colder, thicker shake.
- Adjust the amount of sugar to your preference.
- Prep Time: 5 minutes
- Cook Time: 0 minutes
- Category: Beverage
- Method: Blended
- Cuisine: American
Nutrition
- Serving Size: 1 serving
- Calories: 350
- Sugar: 40g
- Sodium: 80mg
- Fat: 10g
- Saturated Fat: 6g
- Unsaturated Fat: 3g
- Trans Fat: 0g
- Carbohydrates: 60g
- Fiber: 3g
- Protein: 5g
- Cholesterol: 30mg
Keywords: banana, pudding, milkshake, dessert, drink, sweet, vanilla, ice cream