
Oh, you guys are going to LOVE this! I still remember the first time I ever saw a flan with gelatin layers. It was at my cousin Sofia’s birthday years ago, and it just looked like a rainbow trapped in a dessert! It’s not just pretty, though; the way the gelatin makes these distinct, jiggly layers is just *magical*. It gives you this amazing contrast between the creamy flan and slightly firmer gelatin bits. Honestly, making your own Flan with Gelatin Layers is way easier than you’d think, and the “wow” factor is off the charts!

Why You’ll Love This Flan with Gelatin Layers
Seriously, this flan is a winner for so many reasons:
- It looks absolutely stunning with those colorful layers!
- The texture is amazing – creamy flan mixed with those fun, slightly firmer gelatin bits.
- It tastes incredible, with that sweet caramel and rich dairy flavor.
A Feast for the Eyes and Palate
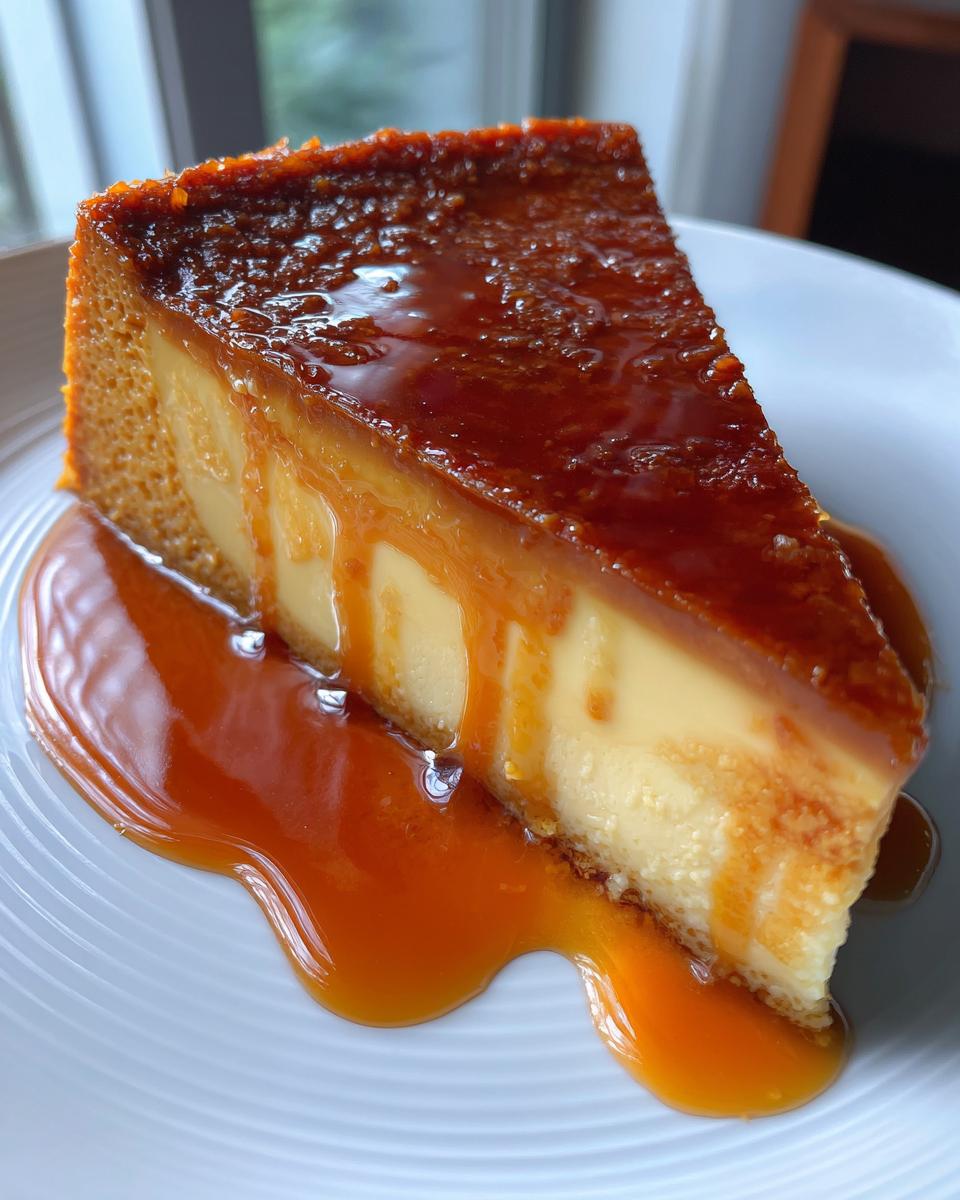
Just imagine slicing into this beauty! Those vibrant, distinct layers are a total showstopper. Each spoonful is a delightful mix of smooth, creamy flan and those little bursts of jiggly goodness. It’s a dessert that tastes as good as it looks, hitting all the right sweet notes.
Simplicity Meets Sophistication
Don’t let the fancy look fool you! This recipe is totally doable, even if you’re not a pastry chef. We’re using simple ingredients and straightforward steps. You get that impressive, restaurant-quality dessert without all the fuss, making it perfect for any occasion.
Essential Ingredients for Your Flan with Gelatin Layers
Alright, let’s gather our goodies! For this amazing Flan with Gelatin Layers, you’ll need:
- 1 packet (0.25 oz) unflavored gelatin – this is our secret to those perfect layers!
- 1/4 cup cold water – to get that gelatin nice and bloomed.
- 1 can (14 oz) sweetened condensed milk – makes it super rich and sweet.
- 1 can (12 oz) evaporated milk – adds to the creamy texture.
- 4 large eggs – these bind everything together beautifully.
- 1 teaspoon vanilla extract – for that classic, warm flavor.
- 1/4 cup granulated sugar (for caramel) – this is for our gorgeous caramel topping.
- 1 tablespoon water (for caramel) – just a splash to help the sugar melt.
- Optional: Food coloring for layers – pick your favorite colors to make it pop!
Seriously, these are all pretty standard pantry staples, which is another reason I love this recipe so much!
Crafting Perfect Flan with Gelatin Layers: Step-by-Step
Okay, now for the fun part – actually making this gorgeous dessert! It’s all about taking your time and layering it up right.
Preparing the Sweet Caramel Base
First things first, let’s get that beautiful caramel going. Grab a small saucepan and combine your 1/4 cup of granulated sugar with just 1 tablespoon of water. Pop it over medium heat. You’ll want to stir it gently at first until the sugar dissolves, then just let it bubble away. Watch it closely! It’ll turn a lovely deep amber color – think beautiful caramel, not burnt toast! As soon as it looks perfect, pour it right into your 9-inch round cake pan or mold. Quickly swirl the pan around so the caramel coats the bottom. Be careful, it’s super hot!
Blooming and Infusing the Gelatin
While that caramel is setting up, let’s get our gelatin ready. In a little bowl, sprinkle your unflavored gelatin over the 1/4 cup of cold water. Just let it sit there for about 5 minutes. You’ll see it get all thick and wobbly – that’s called “blooming,” and it means it’s ready to do its magic. Later, when you’re ready to make your layers, you’ll warm up a tiny bit of your flan mixture and stir the bloomed gelatin into it until it’s completely dissolved. Then, gently fold that back into the portion of flan mixture you want to use for that specific layer.
Blending the Creamy Flan Mixture
This part is super easy! Just dump your sweetened condensed milk, evaporated milk, your four large eggs, and that teaspoon of vanilla extract right into your blender. Whiz it all up until it’s perfectly smooth and creamy. That’s it! This is the base for all our beautiful layers.
Creating and Layering the Colors
Now for the real artistry! Pour about a third of your smooth flan mixture into a separate bowl. This is where you can get creative! If you want vibrant layers, add just a few drops of food coloring – maybe red for one, green for another, or even blue! Stir it gently until the color is all mixed in. Repeat with another portion of the flan mixture and a different color if you like. Once you have your colored mixtures ready, and after you’ve bloomed and dissolved the gelatin into the portion you’re using for the first layer, carefully pour that first colored layer into your caramel-lined pan. Pop that into the fridge for about 15-20 minutes. You want it to set up just enough so the next layer doesn’t completely mix in. Then, gently pour your next colored layer right over the top. Keep repeating this, chilling each layer briefly before adding the next, until all your beautiful colors are in the pan.
Baking and Achieving the Perfect Set
Time to bake! Preheat your oven to 350°F (175°C). Now, you need something called a water bath. It just means putting your flan pan inside a larger baking pan. Carefully pour about an inch of hot water into that bigger pan. This helps the flan cook really evenly and keeps it from getting too firm or cracking. Pop the whole thing into the oven and bake for about 50 to 60 minutes. The flan should be set around the edges but still have a tiny wobble right in the center when you gently shake it. It’s like a little jiggle test!
Chilling and Unmolding Your Flan with Gelatin Layers
Once it’s baked, carefully take the flan pan out of the water bath and let it cool down completely on a wire rack. Don’t rush this part! When it’s totally cool, cover it with plastic wrap and pop it into the refrigerator. It needs at least 4 hours, but honestly, overnight is even better. This lets all those flavors meld and makes sure it’s firm enough to unmold. To get it out, run a thin knife all around the edges of the pan to loosen it. Then, place your serving plate right on top of the pan, take a deep breath, and quickly flip the whole thing over. Hopefully, that beautiful caramel sauce will cascade down over your perfectly layered flan!
Tips for Achieving Flawless Flan with Gelatin Layers
Getting this Flan with Gelatin Layers just right is all about a few key tricks. Trust me, these little tips make all the difference between a good flan and a show-stopping masterpiece!
Ensuring Distinct, Non-Bleeding Layers
The absolute secret to those super clear layers is chilling! Make sure each colored layer is *just* set before you pour the next one on. A quick 15-20 minutes in the fridge usually does the trick. If it’s too warm, they’ll just swirl together, and while that’s pretty too, distinct layers are the goal here!
The Art of the Water Bath
That water bath, or bain-marie as the fancy folks call it, is non-negotiable. It creates this gentle, humid environment in the oven. This means your flan cooks super evenly, preventing those dreaded cracks and ensuring a silky-smooth, creamy texture all the way through, from top to bottom.
Frequently Asked Questions About Flan with Gelatin Layers
Got questions about making this awesome Flan with Gelatin Layers? I totally get it! Here are a few things people often ask:
Q1. My layers kind of blended together. What did I do wrong?
Oh, that happens sometimes! The main reason is usually not chilling each layer long enough before adding the next. Make sure each layer is barely set – like, it won’t jiggle much when you gently nudge the pan – before pouring the next color. It might take a little longer in the fridge than you think!
Q2. Can I make this flan without the gelatin?
You *could*, but then it wouldn’t really be a Flan with Gelatin Layers, would it? The gelatin is what gives you those distinct, slightly firmer layers that create a really fun texture contrast with the creamy flan. Without it, you’d just have a regular flan, which is delicious too, but not quite the same!
Q3. How do I get that perfect, smooth texture?
A few things help! Make sure you blend your flan base ingredients until they’re super smooth. Also, that water bath is key – it helps it cook gently. And definitely don’t overbake it! You want it just set, with a little wobble in the middle. Chilling it overnight is also crucial for that perfect texture.
Q4. Can I use different colors or flavors?
Absolutely! That’s the fun of it! Use different food colorings for vibrant layers. You could even try adding a tiny bit of extract, like almond or coconut, to some of the layers for extra flavor. Just be careful not to add too much liquid or it might affect the texture.
Ingredient Notes and Smart Substitutions
Let’s talk ingredients for our Flan with Gelatin Layers! For the gelatin, make sure it’s *unflavored* – we don’t want any weird minty flan! If you can’t find it in packets, you can usually get it in bulk. For the milks, sweetened condensed and evaporated milk are pretty crucial for that classic flan flavor and texture. You can’t really swap those out without changing the whole game! If you’re dairy-free, I haven’t tested it myself, but you might *try* using full-fat coconut milk for both, though the texture will be different. And for the caramel, just be patient; it’s worth it!
Serving and Storing Your Beautiful Flan
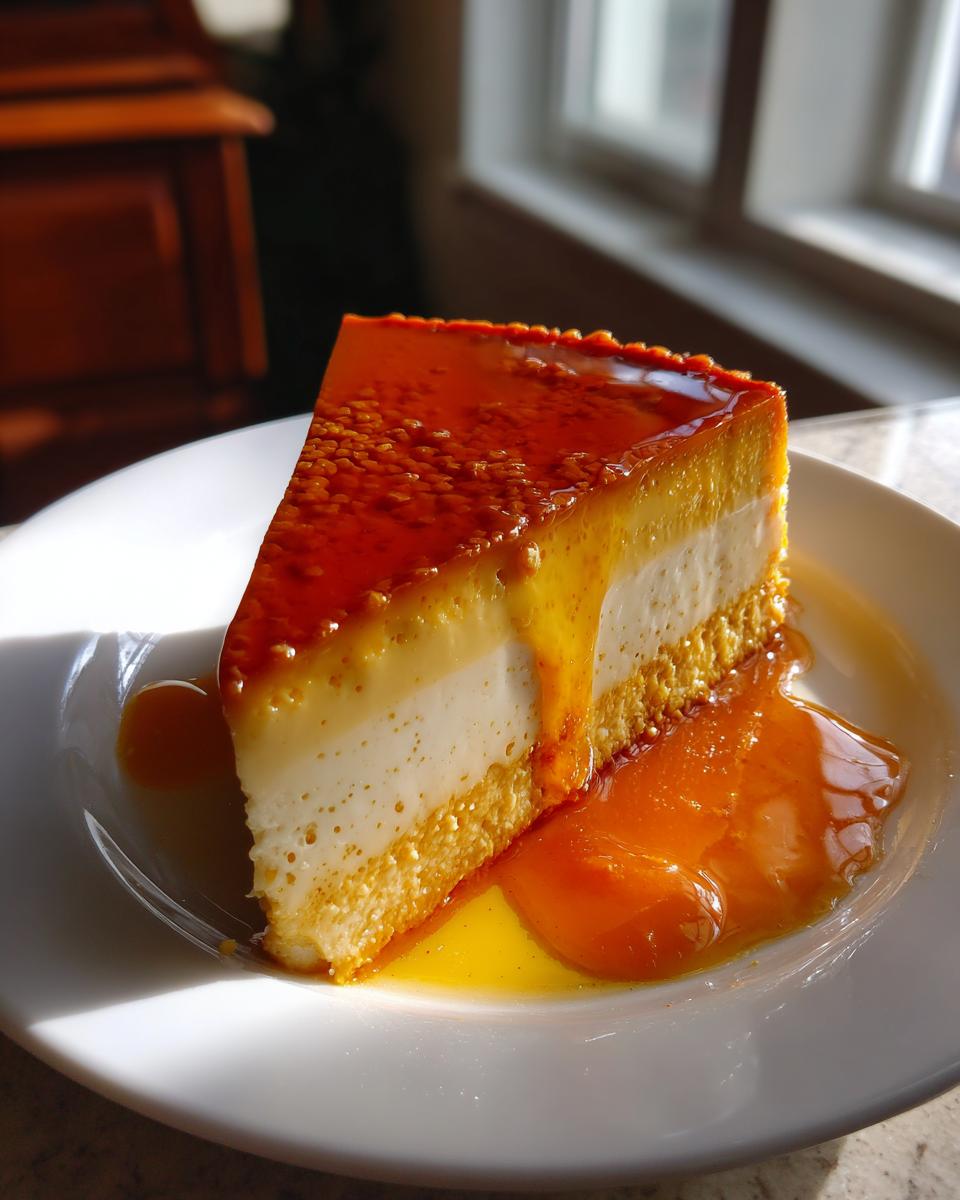
Once you’ve successfully unmolded your stunning Flan with Gelatin Layers, serving it is a breeze! A simple slice is all you need to show off those gorgeous colors. It’s delicious all on its own, but a little dollop of whipped cream or a fresh berry wouldn’t hurt either! If you happen to have any leftovers (which is rare in my house!), just cover the remaining flan tightly with plastic wrap and pop it back in the fridge. It stays nice and creamy for about 3-4 days. Since it’s served chilled, no reheating is necessary!
Estimated Nutritional Information
Just a little note about the nutrition info for this amazing Flan with Gelatin Layers – it’s an estimate, you know? The exact numbers can totally change depending on the brands of milk you use, the size of your eggs, or even how much caramel sticks to the pan! So, think of these numbers as a general guide rather than a strict rulebook.
Print
Flan with Gelatin Layers: 1 Amazing Dessert
- Total Time: 5 hours 30 minutes
- Yield: 8 servings 1x
- Diet: Vegetarian
Description
A visually stunning flan dessert with distinct layers created using gelatin, offering a smooth texture and delightful flavor contrast.
Ingredients
- 1 packet (0.25 oz) unflavored gelatin
- 1/4 cup cold water
- 1 can (14 oz) sweetened condensed milk
- 1 can (12 oz) evaporated milk
- 4 large eggs
- 1 teaspoon vanilla extract
- 1/4 cup granulated sugar (for caramel)
- 1 tablespoon water (for caramel)
- Optional: Food coloring for layers
Instructions
- Prepare the caramel: In a saucepan, combine 1/4 cup granulated sugar and 1 tablespoon water. Cook over medium heat, stirring occasionally, until sugar dissolves and turns a deep amber color. Pour immediately into a 9-inch round cake pan or mold. Swirl to coat the bottom.
- Soften gelatin: In a small bowl, sprinkle unflavored gelatin over 1/4 cup cold water. Let stand for 5 minutes to bloom.
- Make the flan base: In a blender, combine sweetened condensed milk, evaporated milk, eggs, and vanilla extract. Blend until smooth.
- Divide and color: Pour about one-third of the flan mixture into a separate bowl. If desired, add a few drops of food coloring and mix well. Repeat with remaining mixture and desired colors.
- Layer the flan: Pour a thin layer of the first colored flan mixture into the prepared caramel-lined pan. If using gelatin for firmer layers, dissolve the bloomed gelatin in a small amount of warm liquid from the flan mixture, then gently fold it into the portion of flan mixture you are using for that layer. Carefully pour this layer into the pan.
- Chill and repeat: Refrigerate the pan for about 15-20 minutes until slightly set. Gently pour the next colored layer of flan mixture over the set layer. Repeat this process with remaining layers, chilling each layer briefly before adding the next.
- Bake: Place the flan pan in a larger baking pan. Fill the larger pan with about 1 inch of hot water (water bath). Bake in a preheated oven at 350°F (175°C) for 50-60 minutes, or until the flan is set but still has a slight wobble in the center.
- Cool and chill: Remove the flan from the water bath and let it cool completely on a wire rack. Once cooled, cover and refrigerate for at least 4 hours, or preferably overnight, until firm.
- Unmold: To unmold, run a thin knife around the edge of the flan. Place a serving plate over the pan and quickly invert.
Notes
- Ensure each layer is set before adding the next to prevent colors from bleeding.
- The water bath helps the flan cook evenly and prevents cracking.
- Chill the flan thoroughly for best results when unmolding.
- Prep Time: 30 minutes
- Cook Time: 60 minutes
- Category: Dessert
- Method: Baking and Chilling
- Cuisine: Latin American
Nutrition
- Serving Size: 1 slice
- Calories: 350
- Sugar: 45g
- Sodium: 150mg
- Fat: 15g
- Saturated Fat: 10g
- Unsaturated Fat: 5g
- Trans Fat: 0g
- Carbohydrates: 50g
- Fiber: 0g
- Protein: 10g
- Cholesterol: 100mg
Keywords: flan, gelatin, layered dessert, caramel, creamy, sweet, gelatin layers, jiggly, molded dessert