
Oh, homemade treats—just saying those words makes me smile! Some of my favorite childhood memories involve sneaking into the kitchen to steal warm cookies cooling on the counter. There’s something magical about turning simple ingredients into little bites of happiness. That’s why I’m obsessed with these 4 homemade treats—they’re ridiculously easy, use pantry staples, and disappear faster than you can say “just one more!”
Whether you need a quick dessert for unexpected guests, a lunchbox surprise, or just a sweet pick-me-up, these treats have you covered. The best part? You probably have everything you need already. No fancy techniques, no weird ingredients—just pure, comforting goodness. Trust me, once you try these, you’ll wonder how you ever lived without them!

Why You’ll Love These 4 Homemade Treats
Listen, I know you’re busy—we all are! That’s why these little gems are my go-to. Here’s why they’ll become your new obsession too:
- Faster than takeout: From bowl to plate in under 30 minutes? Yes, please! Perfect for those “I need dessert NOW” emergencies.
- Pantry superheroes: Flour, sugar, butter—chances are you’ve got everything already. No last-minute grocery runs!
- Crowd-pleasing magic: Kids, coworkers, picky in-laws—I’ve yet to meet someone who doesn’t gobble these up with big, happy eyes.
- Endless possibilities: Swap peanut butter for almond butter, toss in some coconut… Make them your own!
- That homemade hug: Nothing beats the smell of treats baking. Instant mood booster, I promise.
Seriously, these are the little joys that make everyday life sweeter. And the best part? You probably have everything you need to start baking right this minute!
Ingredients for 4 Homemade Treats
Here’s the beautiful part—you likely have most of these staples in your kitchen already! But let’s get specific, because baking is equal parts art and science. (Trust me, “a little of this, a pinch of that” works for soup… not so much for cookies!)
- 1 cup all-purpose flour – Spoon and level it, friends! No packing.
- 1/2 cup sugar – Plain white sugar works, but brown sugar adds chewiness.
- 1/2 cup butter, softened – Not melted! Leave it out for 30 minutes—it should dent gently when pressed.
- 1 tsp vanilla extract – Splurge on the real stuff if you can.
- 1 egg – Room temp blends smoother. Just pop it in warm water for 5 minutes if you forgot!
- 1/2 tsp baking powder – Check the date—old baking powder is a sad, flat cookie waiting to happen.
- 1/4 tsp salt – Just a pinch to make all the flavors pop.
- 1/2 cup chocolate chips – Or chop a bar for those glorious melty chunks.
- 1/2 cup peanut butter – Creamy or crunchy—your call! (For nut allergies, sunflower seed butter works too.)
See? Nothing weird, no obscure ingredients—just simple, happy-making stuff. Now let’s turn this into magic!
Equipment You’ll Need
No fancy gadgets required—just the basics you probably already have! Here’s what you’ll grab:
- Mixing bowl – One medium-sized one does the trick
- Wooden spoon or spatula – My grandma swore by wooden spoons
- Measuring cups & spoons – Eyeballing works for some things… not baking!
- Baking sheet – No parchment? A light grease works in a pinch
That’s it! Now let’s get mixing.
How to Make 4 Homemade Treats
Alright, let’s turn these simple ingredients into something magical! Don’t worry—this is foolproof. I’ve made these so many times I could probably do it in my sleep (and I may have, once or twice after midnight cravings hit). Here’s exactly how we’ll do it:
- Preheat that oven! 350°F (175°C) is our sweet spot. This gives the oven time to even out while we mix—no cold spots ruining our treats!
- Whisk the dry stuff first: In your bowl, mix flour, sugar, baking powder, and that pinch of salt. Don’t skip the whisking—it keeps everything light and airy.
- Creamy butter dreams: In another bowl (or the same one if you’re lazy like me sometimes), beat the softened butter, egg, and vanilla until it’s smooth and slightly fluffy. About 1-2 minutes with a spoon—your arm workout for the day!
- Bring it together: Gradually mix the dry ingredients into the wet. Stir just until combined—overmixing makes tough treats, and nobody wants that.
- Fold in the fun: Gently stir in chocolate chips and peanut butter. The dough will be thick and glorious. Sneak a taste—I won’t tell!
- Scoop with love: Drop tablespoon-sized mounds onto your baking sheet, about 2 inches apart. They spread! Pro tip: I use a cookie scoop, but two spoons work great too.
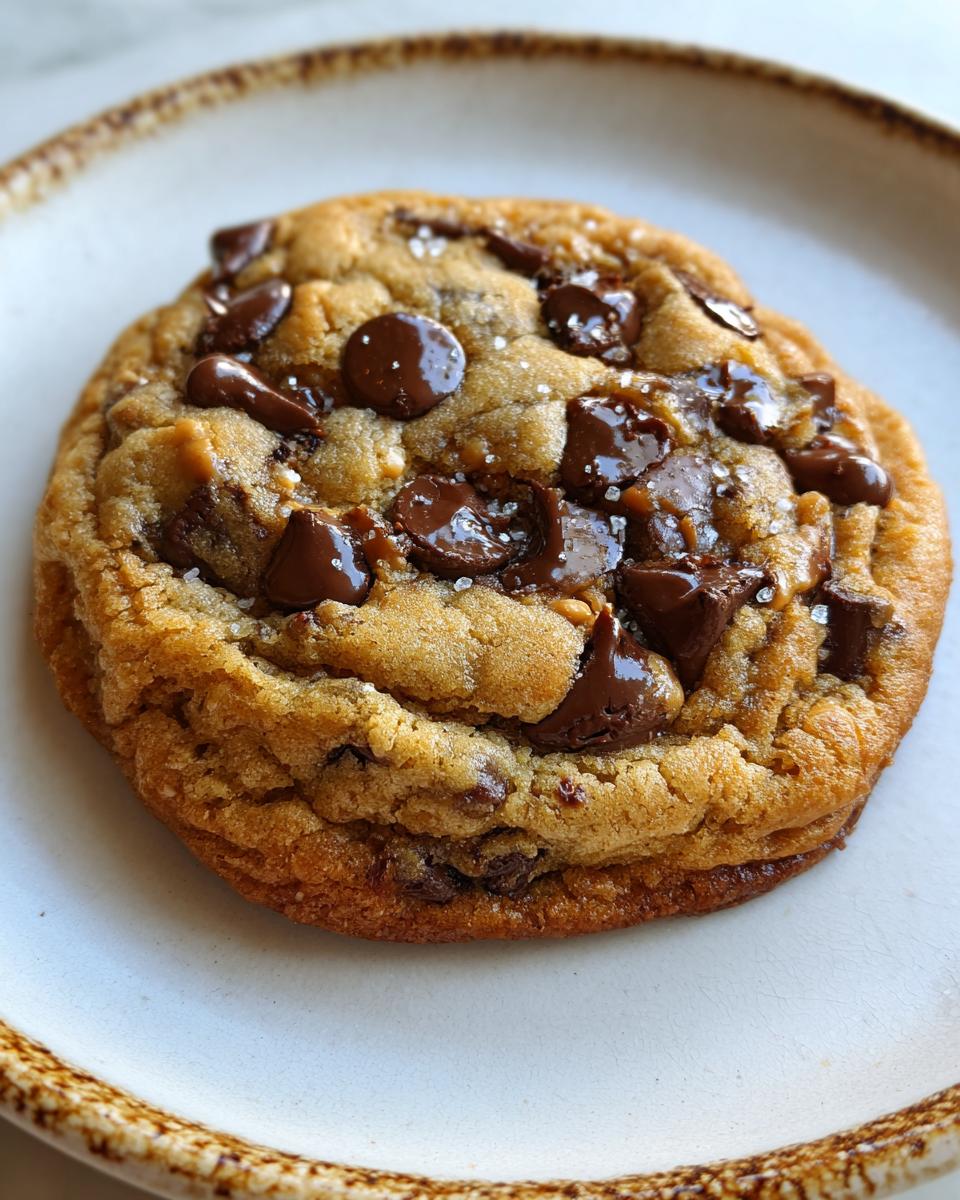
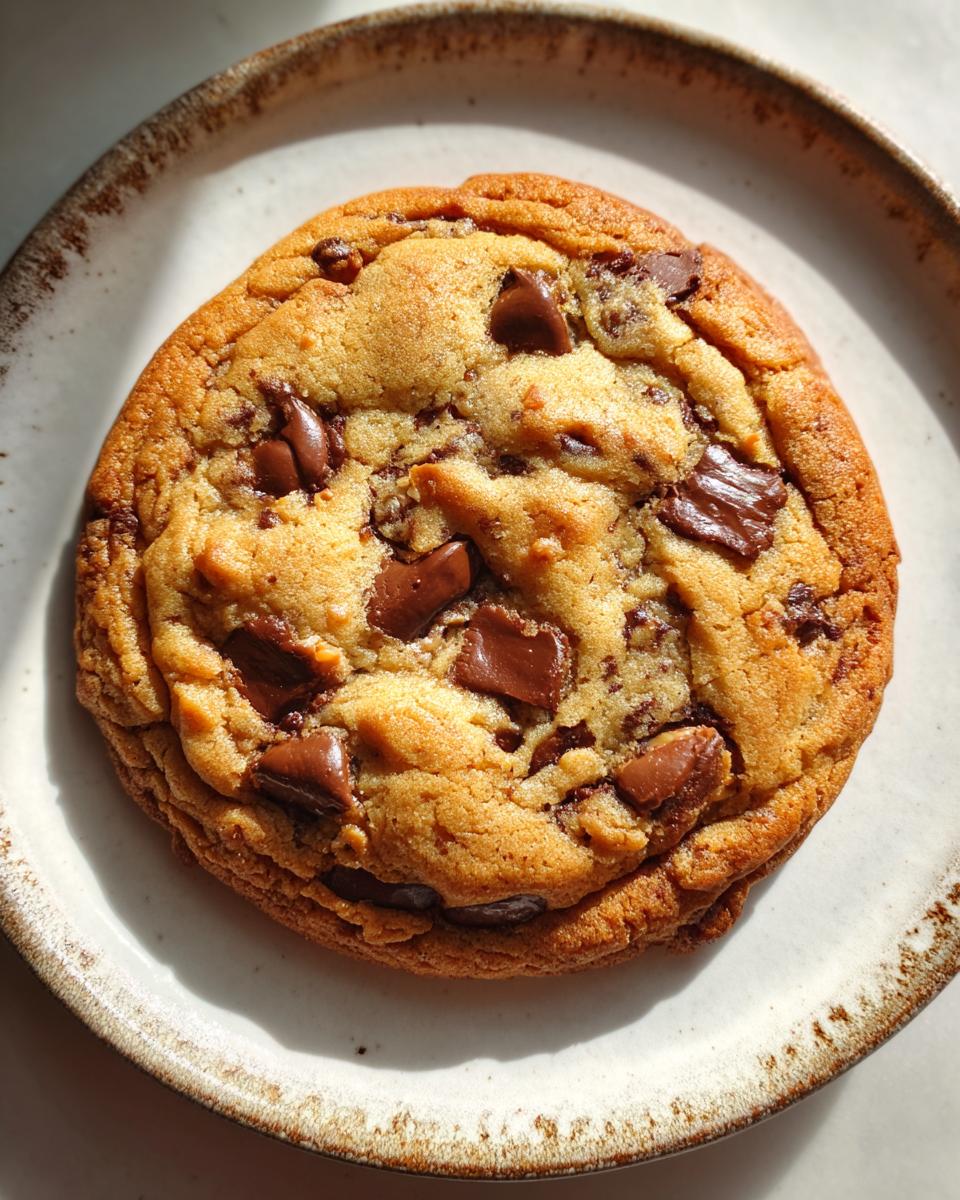
- Bake to golden perfection: 10-12 minutes is usually perfect. They’re done when the edges are lightly golden but centers still look slightly underdone. They’ll keep cooking as they cool—trust the process!
- The hardest part: Let them cool on the sheet for 5 minutes before moving. I know, the smell is torture, but this prevents crumbly disasters!
Pro Tips for Perfect 4 Homemade Treats
Sticky dough? Chill it 10 minutes. Overbaked? A slice of bread in the container softens them overnight. Doubling the batch? Rotate pans halfway for even baking. And always—ALWAYS—make extra. They vanish faster than you’d believe!
Variations for 4 Homemade Treats
Here’s where the real fun begins! These treats are like a blank canvas—you can mix and match to your heart’s content. My neighbor Sarah swaps peanut butter for almond butter and adds a sprinkle of sea salt on top (genius!). If chocolate chips aren’t your thing, try:
- Dried fruit: Chopped apricots or cranberries add a chewy, tart surprise
- Toasted nuts: Walnuts or pecans bring that perfect crunch
- Coconut flakes: Toast them first for extra flavor
- Mini marshmallows: Bake them last 2 minutes for gooey pockets
Last week I even threw in some crushed pretzels—salty-sweet perfection! The only rule? Have fun with it. Some of my best creations came from “Oops, I’m out of…” moments.
Serving and Storing 4 Homemade Treats
These treats taste best fresh from the oven—warm, gooey, and begging for a glass of milk! But if (somehow) you have leftovers, here’s how to keep them happy:
- Room temp: Store in an airtight container for up to 3 days. Tuck a slice of bread in there to keep them soft—it works like magic!
- Freezer friendly: Pop cooled treats in a freezer bag for up to 2 months. A quick 10-second microwave zap brings them back to life.
Pro tip: Hide a few in the back of the pantry. Future-you will be SO grateful!
Nutritional Information for 4 Homemade Treats
Each treat packs about 150 calories—just enough to satisfy that sweet tooth! Keep in mind, nutrition varies by ingredients. Using dark chocolate? More antioxidants! Swap peanut butter? Numbers change. Baking is delicious chemistry!
Common Questions About 4 Homemade Treats
I get asked about these treats ALL the time—here are the answers to everything you might wonder!
“Can I freeze the dough for later?” Absolutely! Scoop the dough into balls, freeze on a tray, then toss in a bag. Bake straight from frozen—just add 1-2 extra minutes. Midnight cookie emergencies solved!
“Why are mine flat as pancakes?” Oh honey, we’ve all been there! Usually it’s one of three things: butter too soft (should dent slightly, not melt), old baking powder, or overmixing. Chill the dough 10 minutes next time—works like a charm.
“How long do these keep fresh?” About 3 days in an airtight container… if they last that long! The bread trick keeps them soft. For longer storage, freeze baked treats up to 2 months.
“Can I make these gluten-free?” You bet! Swap the flour 1:1 with your favorite GF blend. Add 1/4 tsp xanthan gum if your mix doesn’t include it. Texture changes slightly, but still delicious!
“Help—I burned them!” Been there! Next time, set a timer for 8 minutes and check. Ovens vary wildly. Dark pans bake faster too. Burnt bottoms? Grate them over ice cream—waste not, want not!
Share Your Experience
Did you whip up these treats? I’d love to hear how they turned out! Leave a comment below or tag me on social—I live for your kitchen triumphs (and even the funny fails!). Happy baking!
Print
Irresistible 4 Homemade Treats That Disappear Instantly
- Total Time: 22 minutes
- Yield: 12 treats 1x
- Diet: Vegetarian
Description
Four simple homemade treats you can make with basic ingredients. Perfect for snacks, desserts, or sharing with friends and family.
Ingredients
- 1 cup all-purpose flour
- 1/2 cup sugar
- 1/2 cup butter, softened
- 1 tsp vanilla extract
- 1 egg
- 1/2 tsp baking powder
- 1/4 tsp salt
- 1/2 cup chocolate chips
- 1/2 cup peanut butter
Instructions
- Preheat your oven to 350°F (175°C).
- Mix flour, sugar, baking powder, and salt in a bowl.
- Add butter, vanilla, and egg. Stir until combined.
- Fold in chocolate chips.
- Drop spoonfuls of dough onto a baking sheet.
- Bake for 10-12 minutes or until golden.
- Let cool before serving.
Notes
- Store in an airtight container for up to 3 days.
- For a nut-free version, omit peanut butter.
- Adjust sugar based on preference.
- Prep Time: 10 minutes
- Cook Time: 12 minutes
- Category: Dessert
- Method: Baking
- Cuisine: American
Nutrition
- Serving Size: 1 treat
- Calories: 150
- Sugar: 10g
- Sodium: 100mg
- Fat: 8g
- Saturated Fat: 4g
- Unsaturated Fat: 3g
- Trans Fat: 0g
- Carbohydrates: 18g
- Fiber: 1g
- Protein: 2g
- Cholesterol: 25mg
Keywords: homemade treats, easy desserts, cookies, baking, snacks