Oh, the joy of that first sip of coffee in the morning! For me, it’s not just the coffee itself, but also that perfect touch of sweetness and creaminess. I used to buy those big bottles of coffee creamer from the store, but something always felt a little… off. They were often too sweet, or had ingredients I couldn’t pronounce. That’s why I started making my own coffee creamer at home, and let me tell you, it changed my coffee game completely!
There’s something so satisfying about knowing exactly what goes into your cup. This recipe for homemade coffee creamer is a game-changer. It’s incredibly simple to make, takes almost no time, and tastes absolutely divine. Plus, you can customize it to your heart’s content! No more artificial flavors or weird aftertastes. Just pure, delicious goodness that makes your coffee feel extra special.
I’ve been whipping up batches of this coffee creamer for years now. My family loves it so much, they won’t even touch the store-bought stuff anymore. It’s become a little ritual in my kitchen, a simple act of creating something wonderful that brings a smile to everyone’s face. I can’t wait for you to try it and see how easy and rewarding it is to make your own coffee creamer.

Why You’ll Love This Coffee Creamer
Making your own coffee creamer isn’t just about avoiding those mysterious ingredients. It’s about making your coffee routine a little brighter and a lot more delicious. Trust me, once you try this, you might not go back!
- It’s crazy fast. Seriously, we’re talking minutes here. You can have a fresh batch ready before your coffee even finishes brewing.
- So simple. No fancy equipment or complicated steps needed. If you can stir, you can make this!
- Flavor explosion. You control the sweetness and flavor. No more overly sweet or artificial tastes in your mug.
- Saves you money. Those store-bought creamers add up! Making your own is much more budget-friendly in the long run.
- Know what’s inside. Just a few simple ingredients you likely already have in your pantry.
It really transforms your morning cup into something special.
Ingredients for Easy Coffee Creamer
Gathering your ingredients for this coffee creamer is super straightforward. You only need a few things to get started. This recipe keeps it really simple, which I love on busy mornings.
- Sweetened Condensed Milk: You’ll need one 14-ounce can. This is what gives the creamer its sweetness and rich body.
- Half-and-Half or Whole Milk: Grab 2 cups. Half-and-half makes it extra creamy, but whole milk works great too if that’s what you have.
- Vanilla Extract: Just 1 teaspoon. This adds that classic, comforting flavor. You can always add a little more if you love vanilla!
That’s it! Just three simple things stand between you and amazing homemade coffee creamer.
Equipment for Making Coffee Creamer
You don’t need much to whip up this coffee creamer. Chances are, you already have everything you need in your kitchen right now. That’s another reason why this recipe is a winner!
- A medium bowl: Any mixing bowl will do.
- A whisk: To blend everything smoothly.
- A storage container: A clean bottle or jar with a lid works perfectly for keeping your creamer fresh in the fridge.
See? Super simple tools for a super simple process.
How to Make Coffee Creamer: Step-by-Step
Alright, let’s get to the fun part! Making this coffee creamer is almost ridiculously easy. Just follow these simple steps, and you’ll have creamy goodness ready for your coffee in no time. I promise, it’s much simpler than you might think.
Step 1: Measure Your Ingredients
First things first, get your ingredients ready. Open that can of sweetened condensed milk. Measure out your half-and-half or whole milk. And have your vanilla extract handy. Having everything prepped makes the whole process go smoothly.
Step 2: Combine the Sweetened Condensed Milk and Milk
Pour the entire can of sweetened condensed milk into your medium bowl. It’s thick and sticky, so make sure you get all that sweet goodness out! Then, add the 2 cups of half-and-half or whole milk to the same bowl.
Step 3: Whisk Until Smooth
Now, grab your whisk. Whisk the sweetened condensed milk and milk together. Whisk it really well! You want to make sure there are no streaks of the thicker condensed milk left. Keep whisking until the mixture looks completely smooth and uniform. This usually takes just a minute or two. Don’t worry about over-whisking; you just want it nicely combined.
Step 4: Stir in the Vanilla
Once your base is smooth, add the 1 teaspoon of vanilla extract. Give it another quick whisk to make sure the vanilla is evenly distributed throughout the mixture. Oh, the smell is already amazing at this point!
Step 5: Pour into a Storage Container
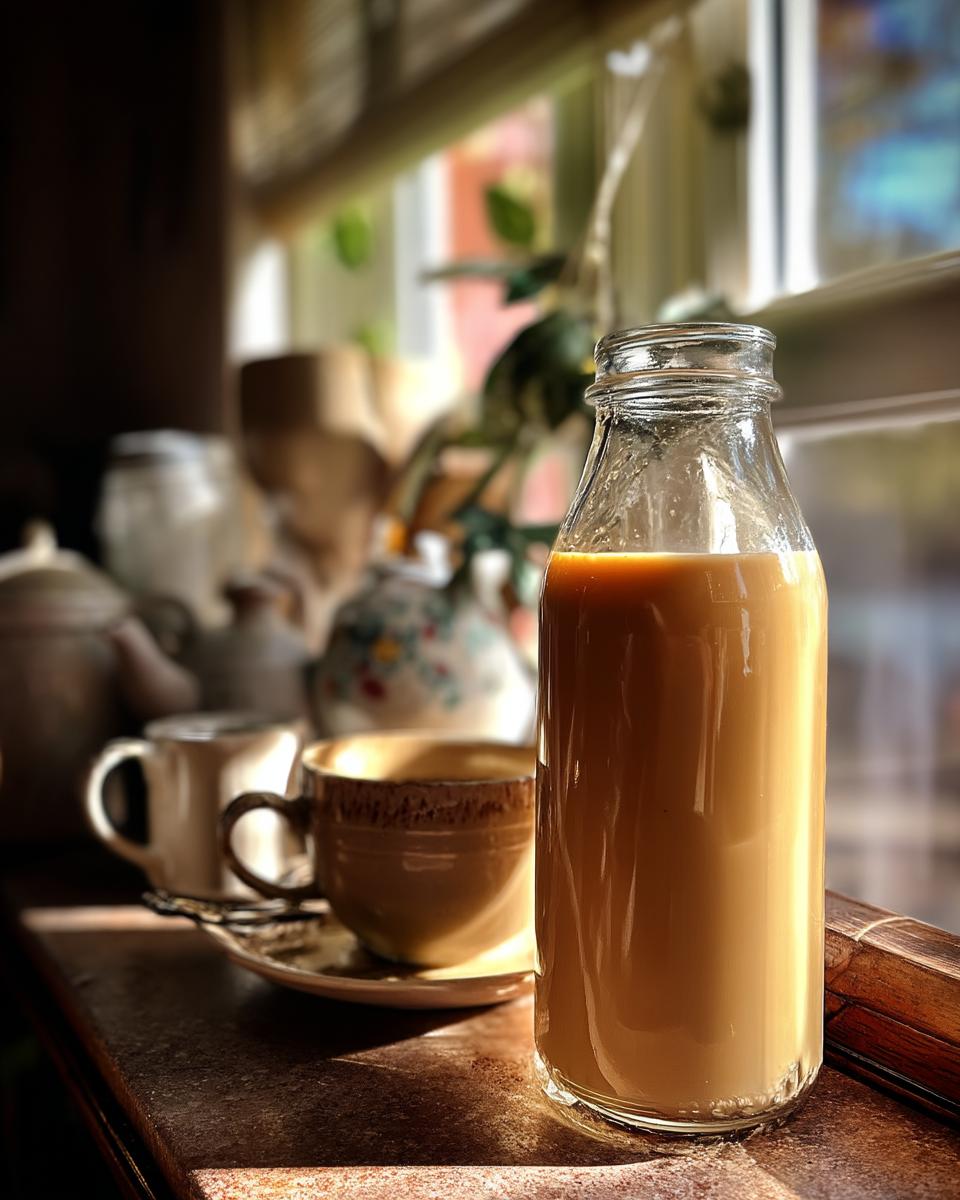
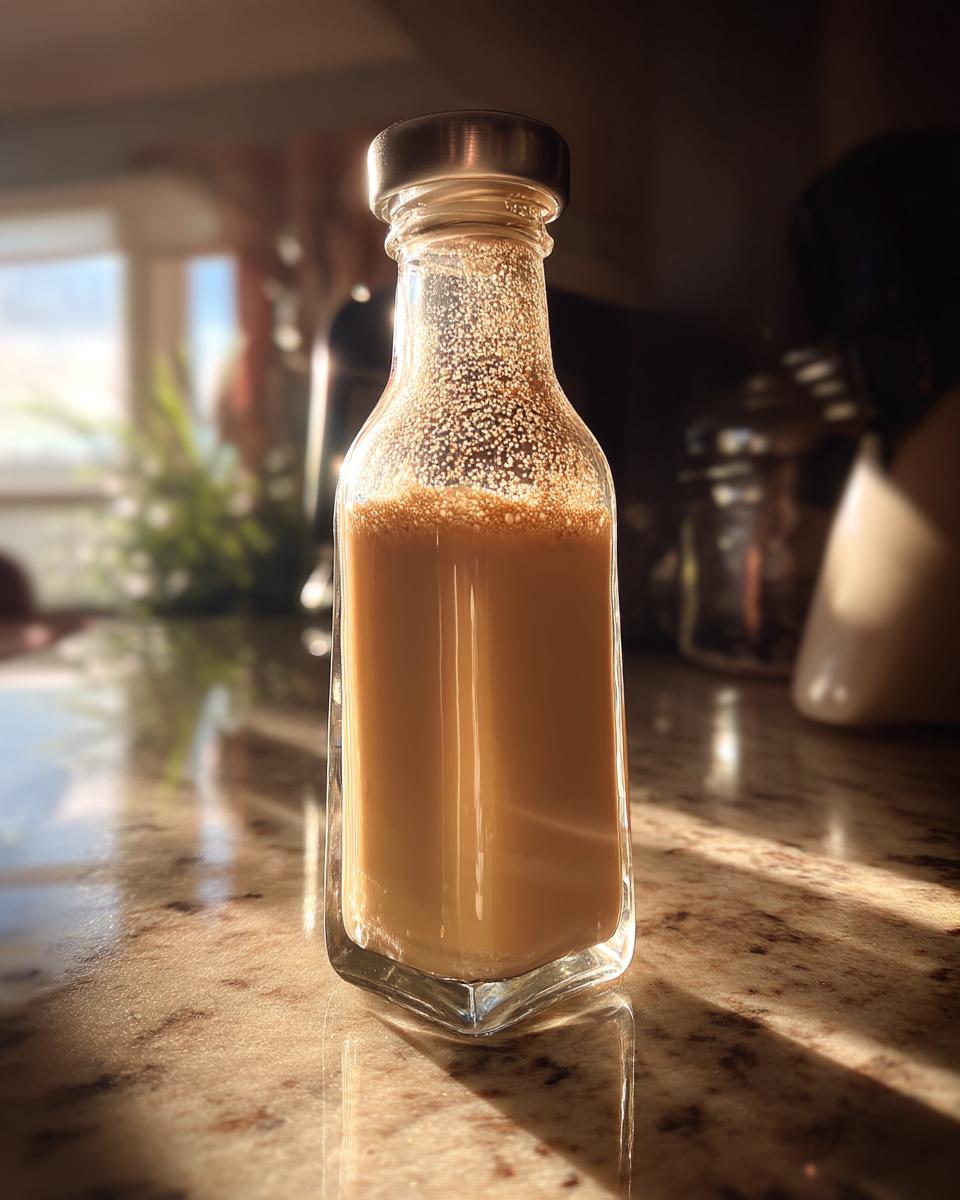
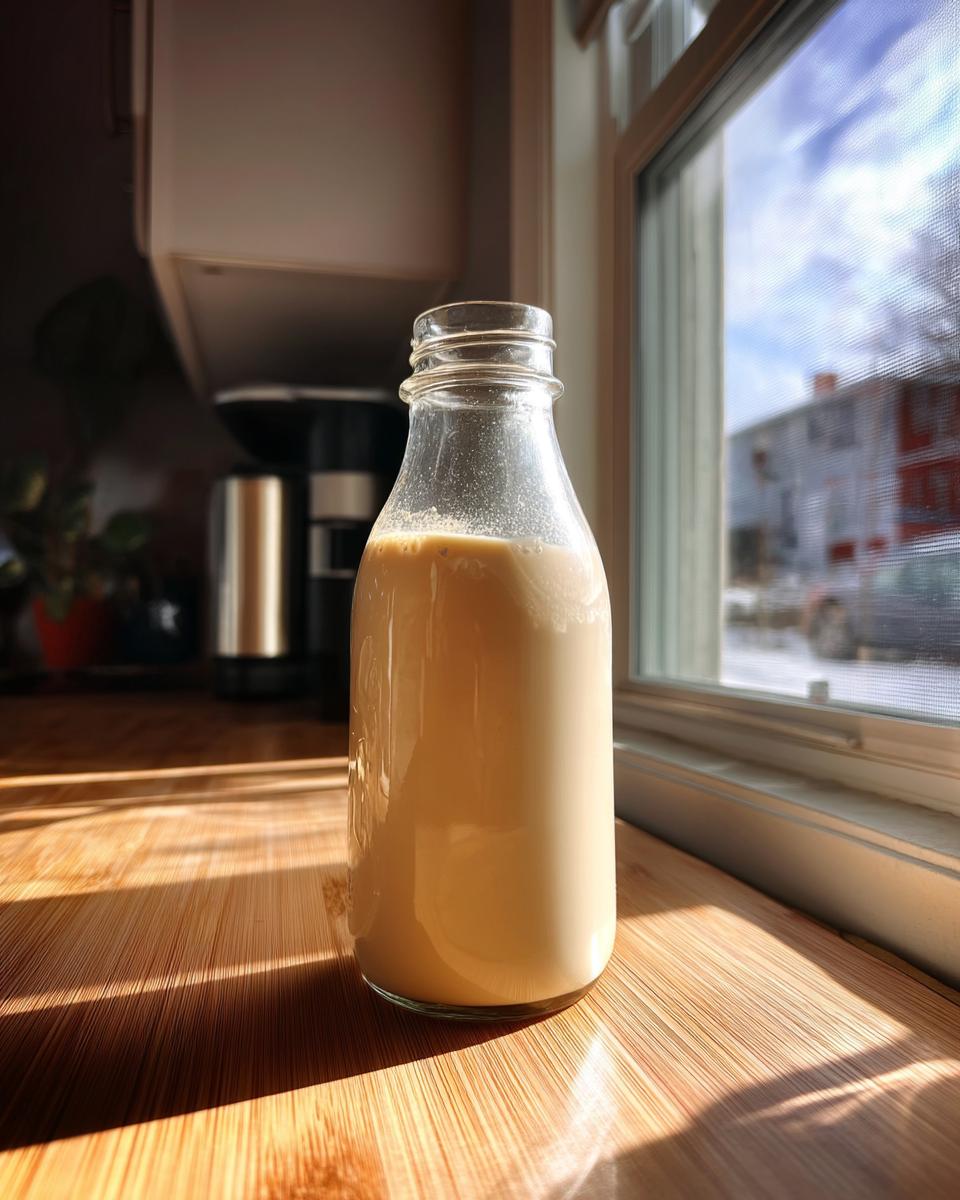
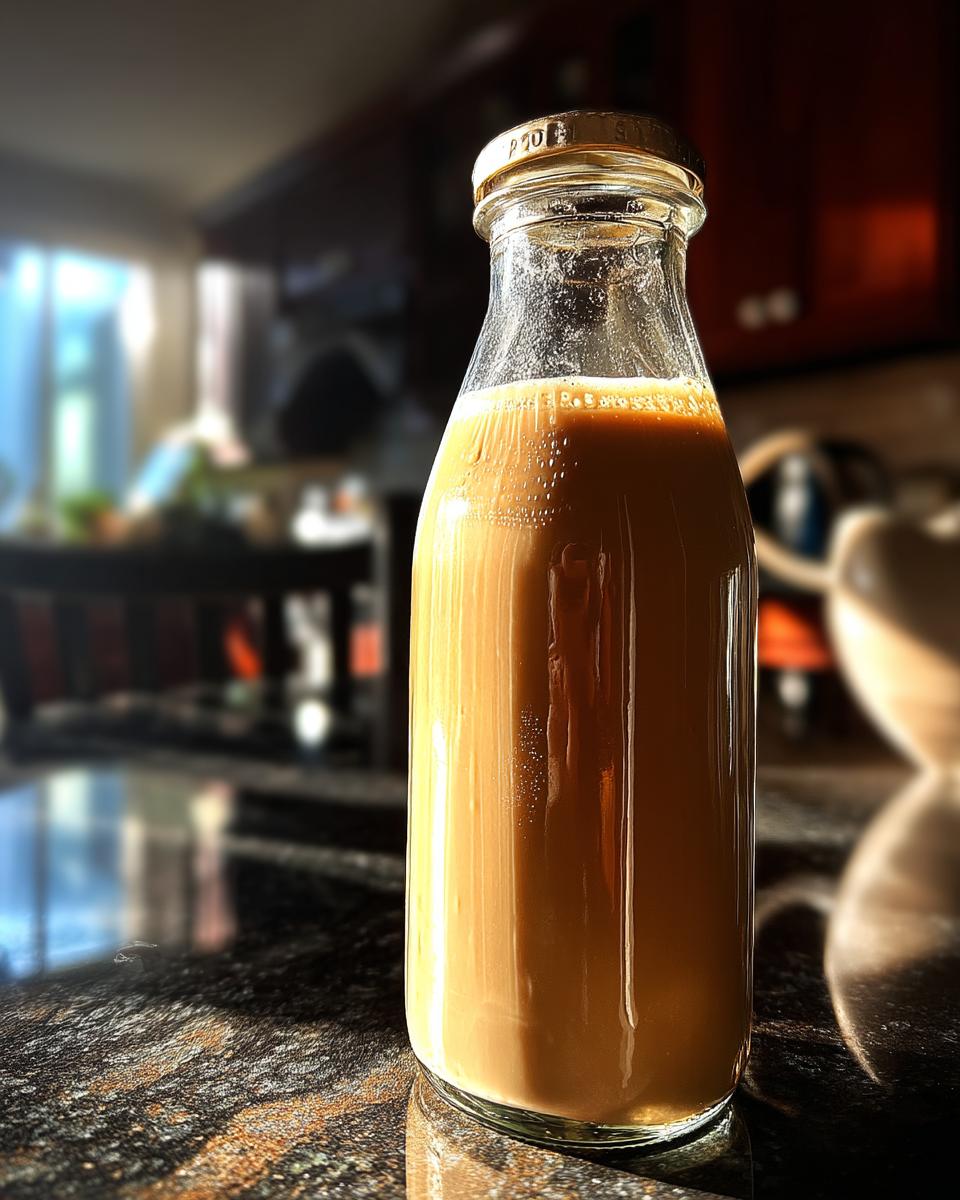
Carefully pour your freshly made coffee creamer into a clean bottle or jar. Something with a good, tight lid is perfect for storage. A funnel can be helpful here to avoid spills, especially if your container has a narrow opening. I like using old glass milk bottles or mason jars.
Step 6: Chill Before Using
Pop that container of coffee creamer into the refrigerator. While you can use it right away, I find it’s even better once it’s had a little time to chill. Letting it sit in the fridge for at least 30 minutes helps the flavors meld together and makes it nice and cold for your hot coffee. It will thicken slightly as it cools, giving you that lovely creamy texture.
That’s it! See? I told you it was simple. Now you have delicious homemade coffee creamer ready to transform your next cup.
Tips for Perfect Coffee Creamer
Making this coffee creamer is easy, but a few little tricks can make it even better. I’ve learned these over time, and they really do make a difference in getting that perfect consistency and flavor every time.
- Whisk it well. Don’t just give it a quick stir. Really get in there and whisk until you see no more streaks of the condensed milk. This ensures a smooth, even creamer.
- Adjust sweetness. This recipe is a good starting point, but we all like our coffee differently! If you prefer it less sweet, you can slightly reduce the amount of sweetened condensed milk next time. Just remember, that milk is also key for texture.
- Chill time matters. While you can use it immediately, letting the creamer chill in the fridge for an hour or two really helps it thicken up nicely and lets the vanilla flavor deepen.
- Shake before use. Sometimes the ingredients can separate a tiny bit in the fridge. Just give the container a good shake before pouring it into your coffee.
- Experiment with milk. Half-and-half gives a richer result, but whole milk is a great option for a slightly lighter creamer that’s still wonderfully creamy.
Following these tips will help you get the best possible results from your batch of coffee creamer.
Variations for Your Coffee Creamer
The basic vanilla coffee creamer is fantastic on its own, but the real fun begins when you start playing with flavors! This recipe is a perfect base for all sorts of delicious variations. It’s like a blank canvas for your coffee dreams.
Want to try something new? Here are some of my favorite ways to change up this easy coffee creamer:
- Chocolate Coffee Creamer: Whisk in 1-2 tablespoons of unsweetened cocoa powder when you add the vanilla. Start with one tablespoon and add more if you want a deeper chocolate flavor. Make sure to whisk thoroughly to avoid any cocoa lumps!
- Almond Coffee Creamer: Swap out the vanilla extract for 1 teaspoon of almond extract. Or, use half vanilla and half almond for a lovely blend. Almond extract is potent, so start with a little and add more to taste.
- Coconut Coffee Creamer: Use coconut extract instead of vanilla. Again, 1 teaspoon is a good starting point. For an extra rich coconut flavor, you could even try swapping out half of the half-and-half for full-fat canned coconut milk, but this might change the texture slightly.
Don’t be afraid to get creative! You can try other extracts like peppermint, hazelnut, or even a little bit of maple extract for a fall vibe. Just add them in with the vanilla step and give it a good whisk. It’s amazing how a little tweak can create a whole new coffee creamer experience.
Storing Your Homemade Coffee Creamer
Once you’ve made your delicious coffee creamer, you’ll want to store it properly to keep it fresh. This homemade goodness doesn’t have all the preservatives that store-bought versions do, so a little care goes a long way.
The best place for your creamer is in the refrigerator. Make sure you use a clean bottle or jar with a tight-fitting lid. This helps keep out any fridge odors and prevents spills.
Your coffee creamer should last for up to two weeks in the fridge. Always give it a quick sniff before using, just to be sure. If it smells off or looks unusual, it’s best to discard it. A good seal on your container is key for longevity.
Just remember to give it a shake before each use, as the ingredients can settle a little over time.
Coffee Creamer FAQs
Got questions about making your own coffee creamer? I get asked a few things pretty often, especially by folks trying homemade creamer for the first time. Here are some common ones that might help you out.
Can I use different milk?
Yes, you can! While half-and-half or whole milk gives the best richness for this creamer, you could experiment with others. Just know that using lower-fat milk might result in a thinner coffee creamer. Some people even use a mix of milk and heavy cream for extra decadence.
How long does homemade creamer last?
When stored in a sealed container in the refrigerator, this coffee creamer should stay good for up to two weeks. Always check for any off smells or changes in appearance before using it.
Can I make a sugar-free coffee creamer?
This specific recipe relies on sweetened condensed milk for sweetness and texture, so it’s not easily made sugar-free. You’d need a different base recipe using sugar substitutes and possibly a thickener to get a similar result. This is really a recipe for a classic, sweet coffee creamer.
Why did my creamer separate?
It’s totally normal for homemade coffee creamer to separate a little in the fridge. Just give it a good shake before each use, and it will mix right back together. This is just because there are no stabilizers like in store-bought versions.
Hope these help clear up any doubts you might have about your easy coffee creamer!
Estimated Nutritional Information
I know some of you like to keep track of what you’re putting in your coffee, and that’s totally understandable! While I’m not a registered dietitian, I can give you an estimated idea of the nutritional breakdown for a serving of this homemade coffee creamer based on the ingredients used. Remember, this is just an estimate, and actual values can vary slightly depending on the specific brands you use.
For about a 2-tablespoon serving of this coffee creamer, here’s a rough idea:
- Calories: Around 60 calories
- Sugar: About 10 grams
- Sodium: Roughly 20 mg
- Fat: Approximately 2.5 grams
- Saturated Fat: Around 1.5 grams
- Carbohydrates: About 10 grams
- Protein: Roughly 1 gram
Again, these are just estimates to give you a general idea. They can be helpful if you’re watching your intake, but don’t take them as exact figures.
Enjoy Your Coffee Creamer
Now that you’ve made your own delicious coffee creamer, it’s time for the best part! Pour a little (or a lot!) into your next cup of hot coffee. Stir it in and watch as it transforms your brew into a creamy, sweet delight.
I really hope you give this recipe a try. It’s so simple and makes such a difference in your coffee. Let me know how it turns out for you!
Print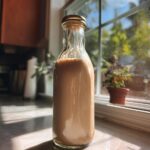
Coffee Creamer: Make 1 Batch, Feel Happy
- Total Time: 5 minutes
- Yield: about 3 cups 1x
- Diet: Vegetarian
Description
Make your own delicious and creamy coffee creamer at home.
Ingredients
- 1 can (14 ounce) sweetened condensed milk
- 2 cups half-and-half or whole milk
- 1 teaspoon vanilla extract
Instructions
- In a medium bowl, whisk together the sweetened condensed milk and half-and-half (or whole milk).
- Stir in the vanilla extract.
- Pour the mixture into a clean bottle or jar with a lid.
- Store in the refrigerator for up to 2 weeks.
Notes
- You can adjust the amount of vanilla extract to your preference.
- For different flavors, try adding other extracts like almond or coconut.
- You can also add a tablespoon of cocoa powder for a chocolate creamer.
- Prep Time: 5 minutes
- Cook Time: 0 minutes
- Category: Beverage
- Method: Mixing
- Cuisine: American
Nutrition
- Serving Size: 2 tablespoons
- Calories: 60
- Sugar: 10g
- Sodium: 20mg
- Fat: 2.5g
- Saturated Fat: 1.5g
- Unsaturated Fat: 0g
- Trans Fat: 0g
- Carbohydrates: 10g
- Fiber: 0g
- Protein: 1g
- Cholesterol: 10mg
Keywords: coffee creamer, homemade creamer, sweetened condensed milk creamer